

Pipelines
Configure the application pipelines your agency uses from creation to outcome.
Pipelines define the path an application follows in Edmissa. Use this guide to create or review the workflow itself: its name, purpose, access, default behavior, and stage order.
For the detailed stage options inside a pipeline, use Pipeline stages.
What this guide helps you set up
Use this guide when you need to create or review an application pipeline before your team starts using it for live work.
The setup has four parts:
- Decide which application journey the pipeline represents.
- Create or edit the pipeline in Settings.
- Add the stage names in the right order.
- Test the workflow with a sample application before the team uses it.
Before you start
Confirm these items before changing pipelines:
| Item | Why it matters |
|---|---|
| Admin access | You need permission to manage pipeline settings. |
| Application journey | The pipeline should match how the team actually works. |
| Roles and users | Pipeline access depends on the right roles. |
| Stage plan | The team should agree on the main steps before you add rules inside each stage. |
| Country or region differences | Some requirements may belong in country or region configuration instead of a separate pipeline. |
If the details are not ready, create a simple pipeline first. You can add stage requirements, approvals, access, and notifications after the base workflow is clear.
Open Pipeline Management
Go to Settings, then Pipelines.
The page title is Pipeline Management. The subtitle is Manage your workflows and application processing stages.
At the top of the page, admins can use:
| Control | What it does |
|---|---|
| Templates button | Opens the template view for reusable pipeline setups. |
| Create Pipeline | Opens the Create Pipeline screen. |
| Active Pipelines | Shows active pipelines that users can work with. |
| Templates tab | Shows pipelines saved as templates. |
| Archived | Shows pipelines that are no longer active. |
| Search pipelines... | Filters the pipeline list by search text. |
Each pipeline appears as a card. A card can show the pipeline name, stage count, description, role access, usage stats, and badges such as Default, Template, or Archived.
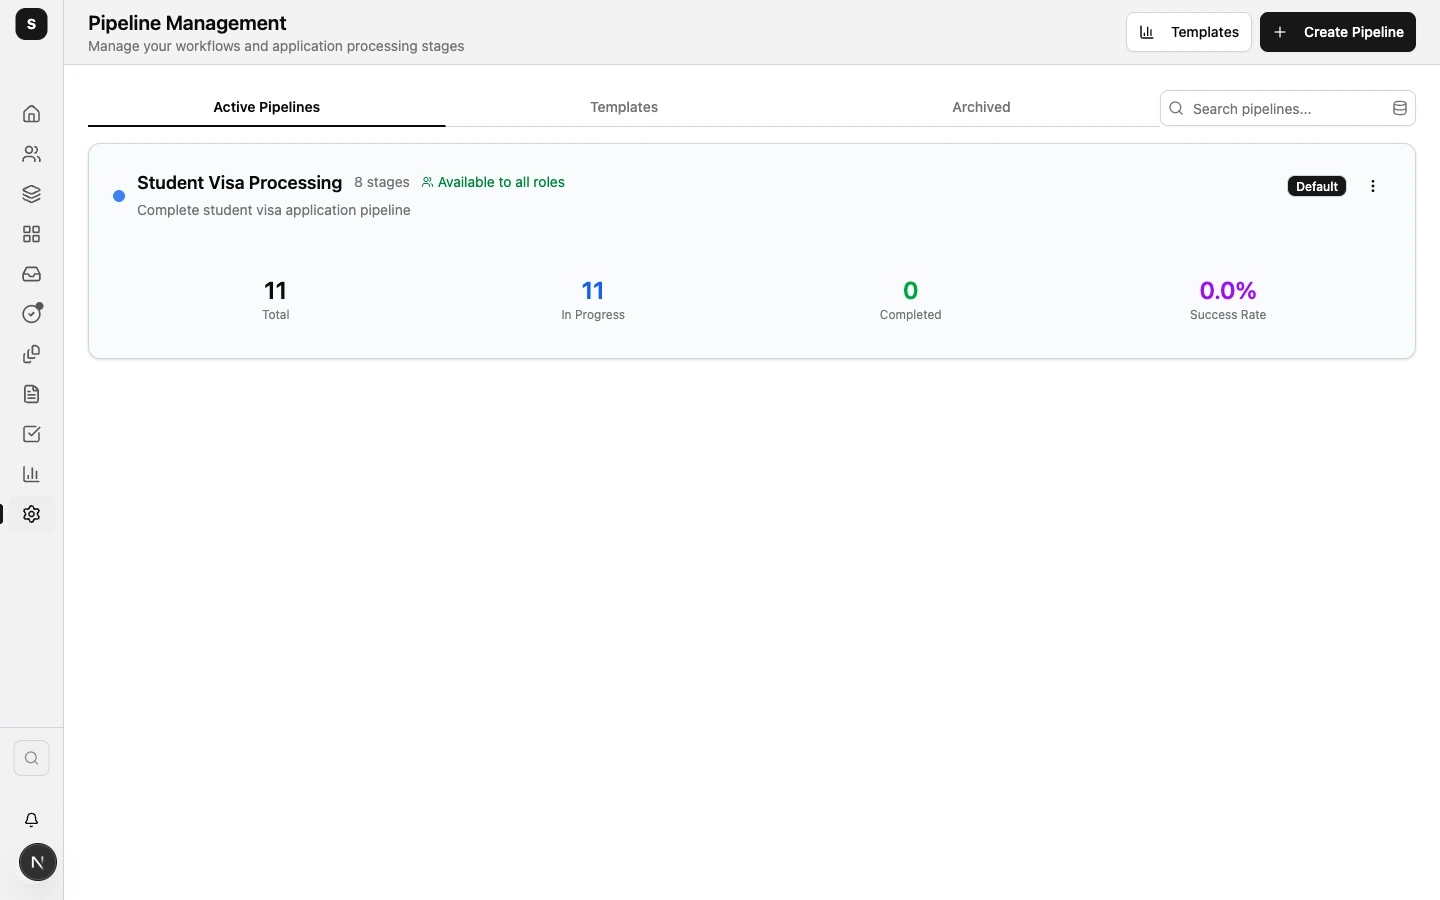
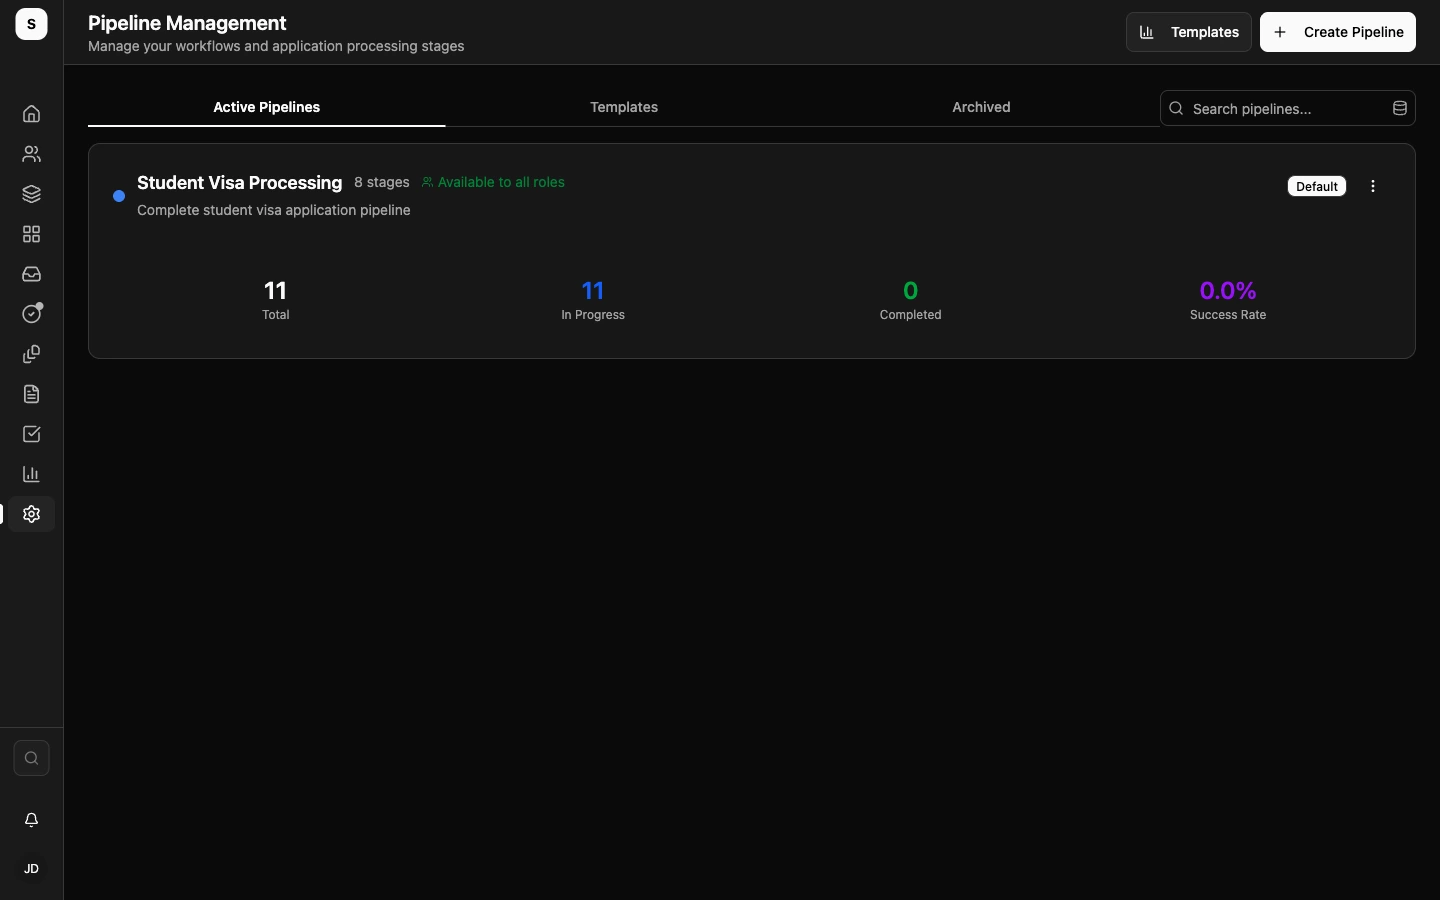
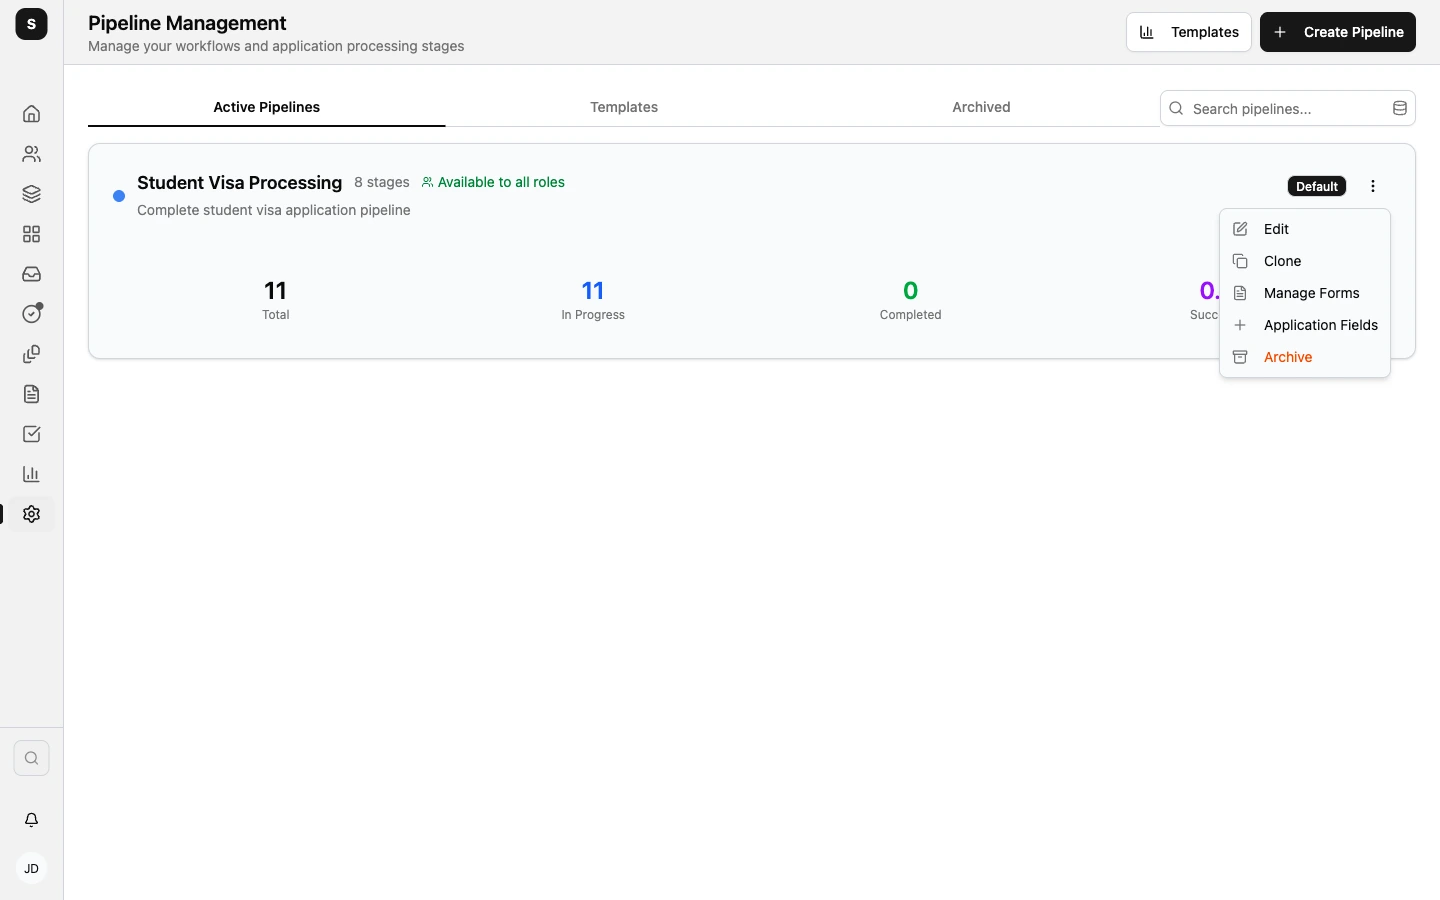
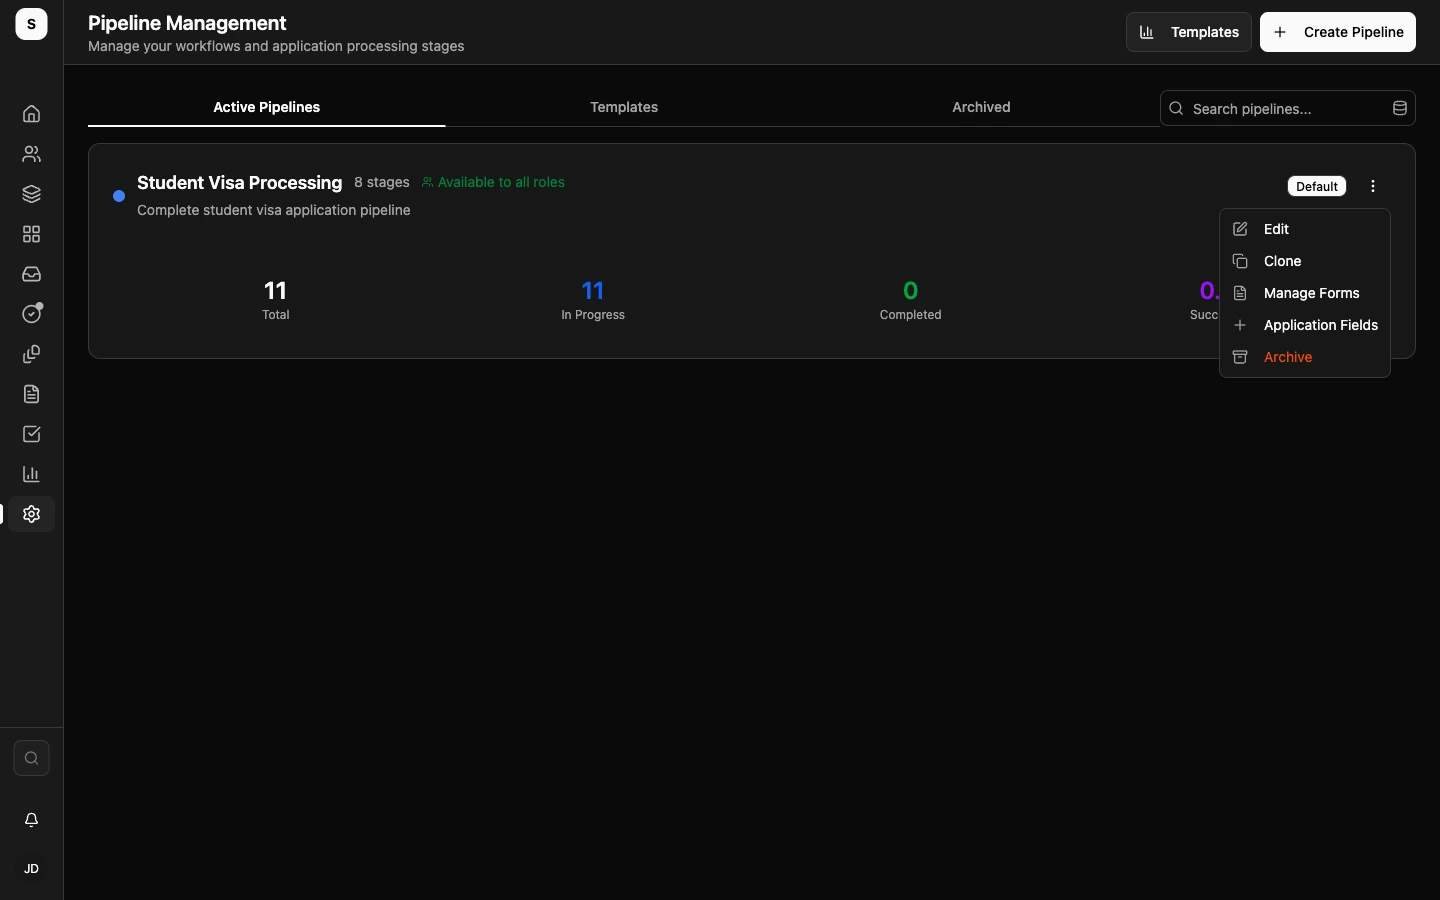
To work with an existing pipeline, use the three-dot menu on the pipeline card. The menu can include Edit, Clone, Manage Forms, Application Fields, Archive, Restore, and Delete Permanently. Pipeline cards are not opened by clicking the card itself.
Example pipeline: Student Visa Processing
Use Student Visa Processing as the first example pipeline. It gives the team a clear path for a student visa application, from the first counseling conversation to pre-departure support.
| Stage | Purpose |
|---|---|
| Initial Consultation | Counsellor confirms the student's goals, destination, intake, study level, budget, and basic fit. |
| Document Collection | Team collects and checks the files needed for university and visa work. |
| University Application | Application officer prepares and submits the university application. |
| Acceptance Received | Team records the offer or acceptance and confirms the next actions with the student. |
| Visa Application | Team prepares the visa application, forms, financial documents, and submission details. |
| Interview Preparation | Counsellor or application officer helps the student prepare for the visa interview when needed. |
| Visa Approved | The visa outcome is successful and the team can prepare the final handover steps. |
| Pre-Departure | Team supports travel, enrollment, arrival, and any final student guidance. |
This example is a starting point. Keep it if your agency handles student visa work in one connected workflow. Adjust it if your agency separates admissions, visa work, enrollment, payments, or partner review into different workflows.
Before the team uses this pipeline, choose how you want to record the final successful outcome:
| Pattern | When to use it |
|---|---|
| Visa Approved is the final successful outcome | Use this when the application is complete once the visa is approved. Manage pre-departure work with tasks or follow-ups outside the application pipeline. |
| Pre-Departure is the final successful outcome | Use this when the application should stay active after visa approval. Keep Visa Approved as active work, then use Pre-Departure as the final successful stage when travel and handover support are complete. |
Do not mark Visa Approved as a final stage if users still need to keep moving the same application through Pre-Departure. That can make reports look complete while work is still happening.
If Student Visa Processing is already loaded in your workspace, open Active Pipelines and find its card. The card should show eight stages. If it is the main workflow for new applications, it may also show the Default badge.
Edit the loaded pipeline
Use this path when Student Visa Processing already exists:
- Open Settings.
- Go to Pipelines.
- Stay on Active Pipelines.
- Find Student Visa Processing.
- Open the three-dot menu on the pipeline card.
- Select Edit.
- Review the Edit Pipeline screen.
- Select Save Changes after making updates.
The Edit Pipeline screen has the title Edit Pipeline and the subtitle Update pipeline configuration and stages. The top actions are Cancel and Save Changes.
Create the pipeline
Use this path when the pipeline does not exist yet:
- Open Settings.
- Go to Pipelines.
- Select Create Pipeline.
- Enter a clear pipeline name, such as Student Visa Processing.
- Add a short description that explains when the team should use this pipeline.
- Choose a color if your team uses visual labels to scan pipelines.
- Choose whether this pipeline should be the default for new applications.
- Choose whether every role can access the pipeline or only selected roles.
- Add the stage names in the order the team should follow.
- Save the pipeline after the basic details and stage list are ready.
Use a template or clone an existing pipeline when you need a similar workflow with small differences. This is usually cleaner than rebuilding every stage by hand.
Fill the pipeline form
The Create Pipeline and Edit Pipeline screens use the same main form.
In Basic Information, review:
| Field or setting | How to use it |
|---|---|
| Pipeline Name | Enter the name users will recognize in daily work. |
| Description | Explain when this pipeline should be used. |
| Color | Choose the color shown on the pipeline card and stage views. |
In Pipeline Settings, review:
| Setting | How to use it |
|---|---|
| Allow Skip Stages | Let users skip stages that are not required. |
| Prevent Backward Movement | Stop applications from moving backward in the pipeline. |
| Auto Progression | Let Edmissa move applications through stages automatically when configured work allows it. |
| Is Template | Save the pipeline as a reusable setup instead of a normal active workflow. |
| Default Pipeline | Use this pipeline as the default for new applications where the product supports a default. |
In Role Access Control, choose one option:
| Option | What it means |
|---|---|
| Available to all roles | All users with the right permissions can access the pipeline. |
| Available to selected roles only | Only selected roles can access the pipeline. |
When you choose Available to selected roles only, use Select Allowed Roles to choose the roles that can use the pipeline.
Add the stage list
Use Pipeline Stages to add the main steps in the workflow. At this point, focus on the stage names and order.
Use names your team says in daily work, not internal shorthand. A good stage name should tell a user what is happening with the application right now.
For Student Visa Processing, a clear starting order is:
- Initial Consultation
- Document Collection
- University Application
- Acceptance Received
- Visa Application
- Interview Preparation
- Visa Approved
- Pre-Departure
After the stage list is correct, configure the details inside each stage in Pipeline stages.
Manage stage forms
Use Manage Forms from the pipeline card menu when different stages or roles need different forms. The form management screen is called Pipeline Form Management.
Use Pipeline form management to choose which form template users see at each stage and for each role. If the same form works for everyone, keep the rule setup simple.
Test before the team uses it
Before using a new pipeline for live work:
- Create a sample application.
- Move it through each stage.
- Confirm the stage order matches the real workflow.
- Confirm users can access the pipeline.
- Confirm the default pipeline setting behaves as expected.
- Confirm reports show the expected stage and outcome.
Ask one counselor and one application officer to review the sample workflow if both roles will use the pipeline.
What happens next
After a pipeline is active, users can place applications into that pipeline and move applications through its stages. If the pipeline is marked as default, new applications can use it automatically where the product supports a default pipeline.
Changing a pipeline can affect how users see and process active applications. When a pipeline is already in use, review the change with the team before renaming stages, removing important rules, changing final stage types, or limiting access.
Archive a pipeline when the agency no longer uses it but still needs historical application records to remain understandable.
Good pipeline habits
- Start with the smallest workflow that reflects real work.
- Use one stage for one clear work state.
- Avoid creating separate pipelines for tiny differences.
- Use fields, document types, checklists, and country or region configuration for details that change by market.
- Keep final stages clear so reports are easy to understand.
- Review pipeline performance after the team has used it for a few weeks.
Related guides
| Guide | Use it for |
|---|---|
| Pipeline stages | Configure the rules, requirements, approvals, access, notifications, and checklists inside each stage. |
| Pipeline form management | Choose which form template users see at each stage and for each role. |
| Setup overview | Plan the order of setup work before the team starts using Edmissa. |
| Country and region configuration | Decide which pipeline details should vary by market or operating region. |
| Checklists | Create repeatable task lists that can be attached to stage work. |
| Form templates | Design the forms used to collect student and application details. |
| Fields | Create the fields that stage requirements and form templates depend on. |
| Document types | Define the files that stage requirements may ask users to collect. |
| Applications | See how users work with applications after the pipeline is configured. |