

Applications
Create and manage applications as they move through configured pipelines.
Applications track a student's progress through a configured workflow, such as admissions, visa processing, enrollment, or another service your agency manages in Edmissa.
Use this guide when you need to:
- Open the Applications work area.
- Choose list or board view.
- Create an application for a student profile.
- Select the right pipeline and starting stage.
- Update application details.
- Move an application through stages safely.
- Use related checklists, documents, tasks, comments, and activity history.
Watch the application workflow
This video uses a UK Student Visa application as one example. The same approach can support multiple forms and pipelines for different destinations and services.
Open Applications
In the left navigation, select Pipelines. This opens the Applications work
area at /t/applications.
The page header is Applications in list view. If board view is selected, the header can show the selected pipeline name instead, such as Student Visa Processing.
Use Create Application when you need to start a new application. Use All Items when your role lets you switch between all work, assigned work, or a narrower scope.
Choose List or Board View
On wider screens, the page can show List View and Kanban View controls. On smaller screens, Edmissa uses the list layout.
| View | Use it when |
|---|---|
| List View | You need to search, filter, compare many applications, or update a stage from a row. |
| Kanban View | You want to see applications grouped by stage in one pipeline. |
In list view, each row helps you scan the application number, student profile, pipeline, stage, status, priority, assigned team member, and overdue state. Select the application number or row content to open the detail panel. If your role allows it, the row menu can also show actions such as View Details, Edit, or Delete.
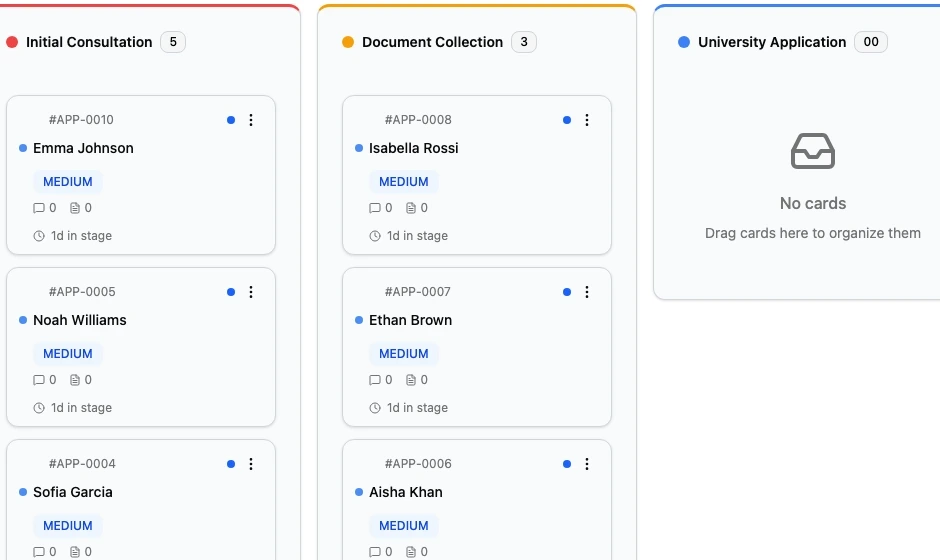
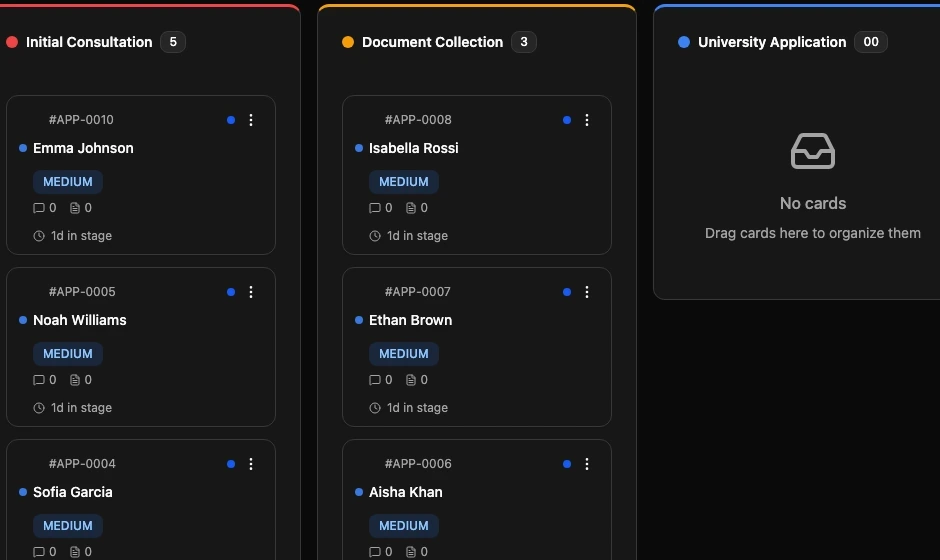
In board view, each column is a stage. Cards show the application number, student name, priority, task or document counts when available, and time in stage. Use board view when you are reviewing progress through one pipeline.
Create an Application
Select Create Application from the Applications page. Edmissa opens the Create New Application form.
Create the application in this order:
- Search for and select the correct student profile.
- Choose the pipeline that matches the work being started.
- Choose the starting stage if the application should not begin at the default first stage.
- Select the form type if a Form Type section appears.
- Fill any application fields shown by the selected pipeline and form.
- Add notes, priority, expected end date, and assigned team member if known.
- Select Create Application.
If the student came from Leads, review or convert the Lead first so the application is tied to the correct student profile. See Leads.
Pick the Right Pipeline
The pipeline controls the stages, forms, fields, checklists, approvals, and documents the user will see. Pick it carefully before creating the application.
Use a pipeline when it matches the real work being done. For example, use Student Visa Processing for a student visa workflow. Do not use a pipeline only because it is the first option in the list.
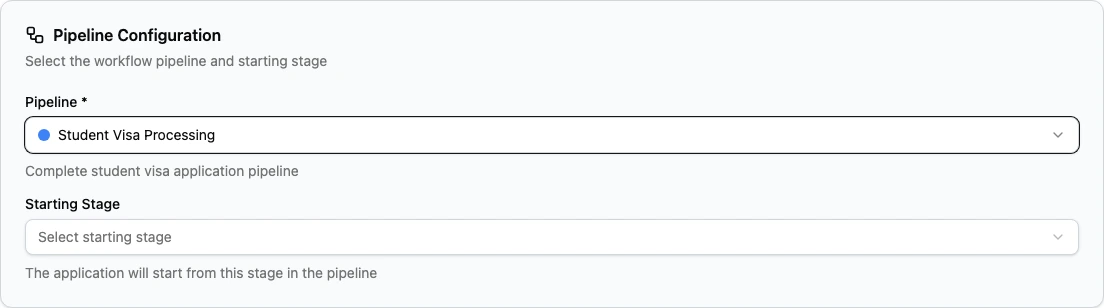
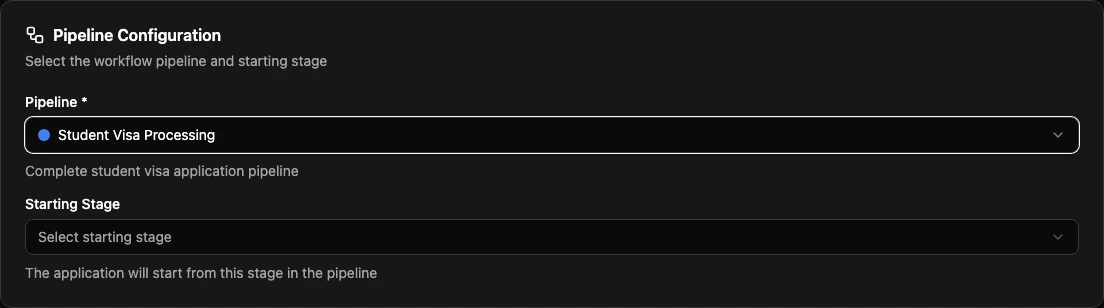
Use the default starting stage unless there is a clear reason to start later in the workflow. Starting later can skip early checks, required information, or handoff steps.
If Edmissa shows that the same student profile already has applications in the selected pipeline, pause and check whether this is expected. Multiple applications can be normal, for example when a student applies for more than one program or service, but duplicate work should be avoided.
Fill Application Details
Use Application Details for information that helps the team manage this specific application:
| Field | How to use it |
|---|---|
| Notes | Add short context that the next team member should know. |
| Priority | Use Low, Medium, High, or Urgent to help the team sort work. |
| Expected End Date | Add the target date when there is a real deadline. |
| Assign To | Assign the application to a team member, or leave it unassigned if ownership is decided later. |
Some pipelines also show custom application fields. These fields belong to the application, not the student profile. Use them for values that can differ from one application to another, such as university name, program choice, deadline, offer status, or visa outcome.
If required fields are missing, Edmissa asks you to complete them before the application can be created.
Update an Application
Open an application from the list or board. The detail panel shows the current status, priority, pipeline, stage, assigned team member, and related work.
Depending on your permissions, these tabs may appear:
| Tab | What to use it for |
|---|---|
| Overview | Review the main application details, application fields, checklists, notes, and current status. |
| Timeline | Review stage movement history. |
| Activity | Review recorded actions and updates. |
| Documents | Review or upload files related to this application. |
| Comments | Add discussion or handoff notes. |
| Tasks | Create and review follow-up work. |
| Approvals | Review approval requests when approval work is part of the workflow. |
Use the actions menu in the detail panel to select Edit Application when you need to change form-based details. The edit form follows the template connected to the current pipeline and stage. Select Save Changes when the update is ready.
You may also be able to update priority, assignment, or stage directly from the detail header. Only change these when the new value reflects the real state of work.
Move Through Stages
Move an application when the work for the current stage is actually complete. You can move stages from the stage selector in a list row, from the stage selector in the detail panel, or by moving a card in board view when your role allows it.
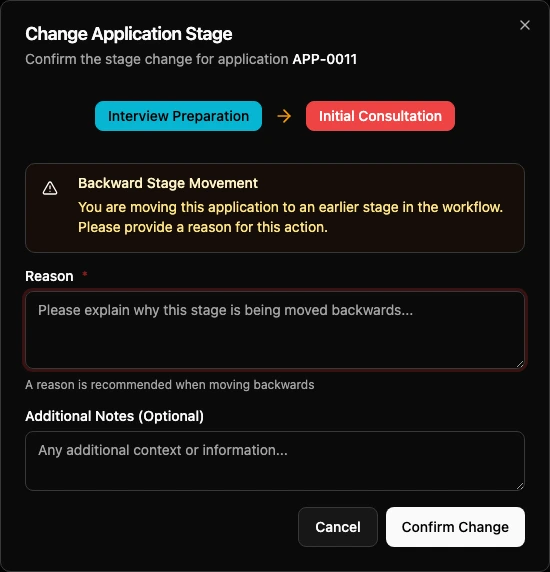
When a stage change needs confirmation, Edmissa opens a Change Application Stage dialog. Review the current stage and target stage before confirming.
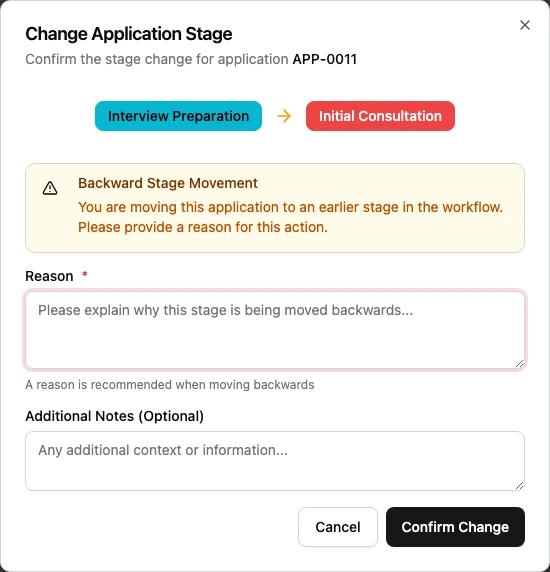
Use these rules before confirming a move:
| Situation | What to do |
|---|---|
| Moving forward | Confirm that the current stage work is complete. Add a reason or note when it helps the next person. |
| Moving backward | Read the warning and add a clear reason. Backward moves should explain what needs correction. |
| Required checklist blocks the move | Complete the checklist items before moving the application. |
| Non-blocking checklist warning appears | Complete the checklist if possible. Override only when your agency policy allows it, and write a clear reason. |
| Approval is pending | Wait for the approval result before moving to a stage that depends on that decision. |
| Documents are missing | Upload or request the needed files before moving to a document-dependent stage. |
Do not move an application just to clean up a view or make reports look better. The stage should match the real status of the student's work.
Use Checklists, Tasks, and Documents
Checklists, tasks, and documents appear only when your workspace has them configured and your role can access them.
Use checklists to confirm stage requirements. If a checklist blocks a move, finish the required items before changing stages.
Use tasks for follow-up work that should be assigned, tracked, or completed by a specific date. A task count can appear on list rows or board cards when tasks exist for the application.
Use documents for files that belong to the application, such as forms, supporting records, offer letters, or visa files. When uploading, choose the right document type so files are grouped and validated correctly.
Related Configuration
Video transcript
Once a student is ready to proceed, the counsellor can create an application using a form designed for that particular workflow.
Here, we're using the UK Student Visa process as an example. Your agency can create multiple forms and pipelines for different countries, services, branches, or internal processes.
This UK Application Intake form brings the required student and application information into one guided process.
The counsellor can select an existing student or create a new student while starting the application. They can then capture details such as the selected university, programme, intended intake, and application deadline.
The form can be as detailed as your process requires, or kept as simple as a standard Create Application button.
Once created, the application enters the appropriate pipeline.
Each pipeline represents the actual journey your team follows. In this example, the application moves from profile assessment and university selection through the offer, CAS, financial evidence, visa application, and final decision stages.
This gives the entire team a shared and up-to-date view of every active application.
The Kanban view makes the current position of every application immediately visible.
Each column represents a stage, while each card represents an active application. Counsellors and managers can quickly see what is progressing, what requires attention, and where work may be delayed.
From here, a user can open an application, review its information, check the assigned team member, and continue the required work. As progress is made, the application can be moved to its next stage, keeping its status visible without relying on spreadsheets, separate notes, or WhatsApp updates.
Users can also simplify the board around their own responsibilities.
Stages that are not relevant to someone's current work can be hidden, while other columns can be minimised to create more working space.
These controls are saved separately for each user. A counsellor can create a focused view of assigned work, while a manager can maintain a broader operational view. One person's board preferences do not change the experience for the rest of the team.
For teams that prefer a more structured view, the same applications can be displayed as a list.
Users can search for a particular student or application and apply filters for details such as stage, status, priority, assignee, dates, or overdue work. Sorting makes it easier to bring the most urgent or relevant applications to the top.
The preferred view, filters, sorting, and display choices can be stored for each user, giving everyone a workspace suited to their day-to-day role.
The UK workflow shown here is only one example. Similar forms and pipelines can be created for Canada, Australia, the United States, or any other service your agency manages.
Every stage can also support configurable fields, approvals, notifications, and workflow rules. We'll explore those administrative controls in a separate video.