

Document types
Configure the file categories, upload rules, expiry tracking, versioning, and approval behavior used when your team collects student and application documents.
Document types define the kinds of files your agency collects and reviews in Edmissa. They control how a file is labeled, where it can be uploaded, which formats and file sizes are accepted, whether expiry dates are tracked, and whether the document needs review before the team treats it as ready.
Use document types before your team starts collecting files through student profiles, applications, form file-upload fields, and document checklists. A clear document type list keeps files searchable, prevents users from uploading the wrong format, and helps stage requirements check the right document.
When to Use Document Types
Use document types when your agency needs to:
- Collect the same file from many students, such as Passport, Academic Transcript, Bank Statement, English Test Result, Offer Letter, or Visa Copy.
- Limit accepted file formats for a document type.
- Set a maximum file size, or an optional minimum file size.
- Allow one file, multiple files, or a front and back pair.
- Decide whether the file belongs to the student profile, the application, or both.
- Decide whether the file can be uploaded from forms, uploaded independently, or both.
- Track expiry dates for documents such as passports, police certificates, or medical results.
- Keep document versions when users replace an older upload.
- Require an approval step before a document is considered active.
Do not use document types as task lists. Use checklists when the team needs a set of work items to complete, such as "review financial documents" or "confirm all visa files are ready."
Before You Start
Before editing document types, review:
| Guide | Use it for |
|---|---|
| Fields | Create file-upload fields that ask for a document type. |
| Form templates | Decide where users will see file-upload fields on student or application forms. |
| Pipeline stages | Decide which stages need required documents before an application moves forward. |
| Checklists | Turn document review into assigned work for counselors or application officers. |
You also need permission to manage document settings. If you can view documents but cannot open this settings page, ask an admin to review your role.
Open Document Types
- Open Settings.
- Open Document Types.
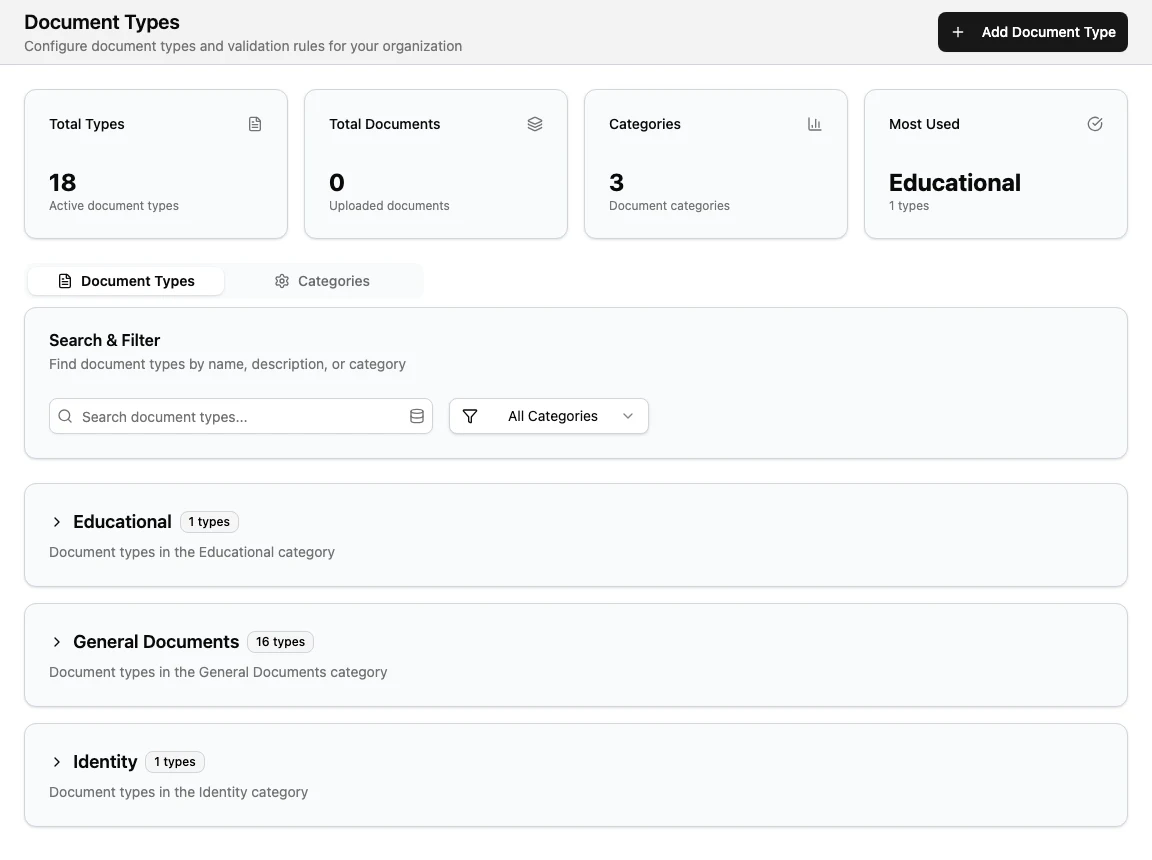
- Use the Document Types tab to search, filter, create, edit, duplicate, or delete document types.
- Use the Categories tab to review the category groups used to organize the list.
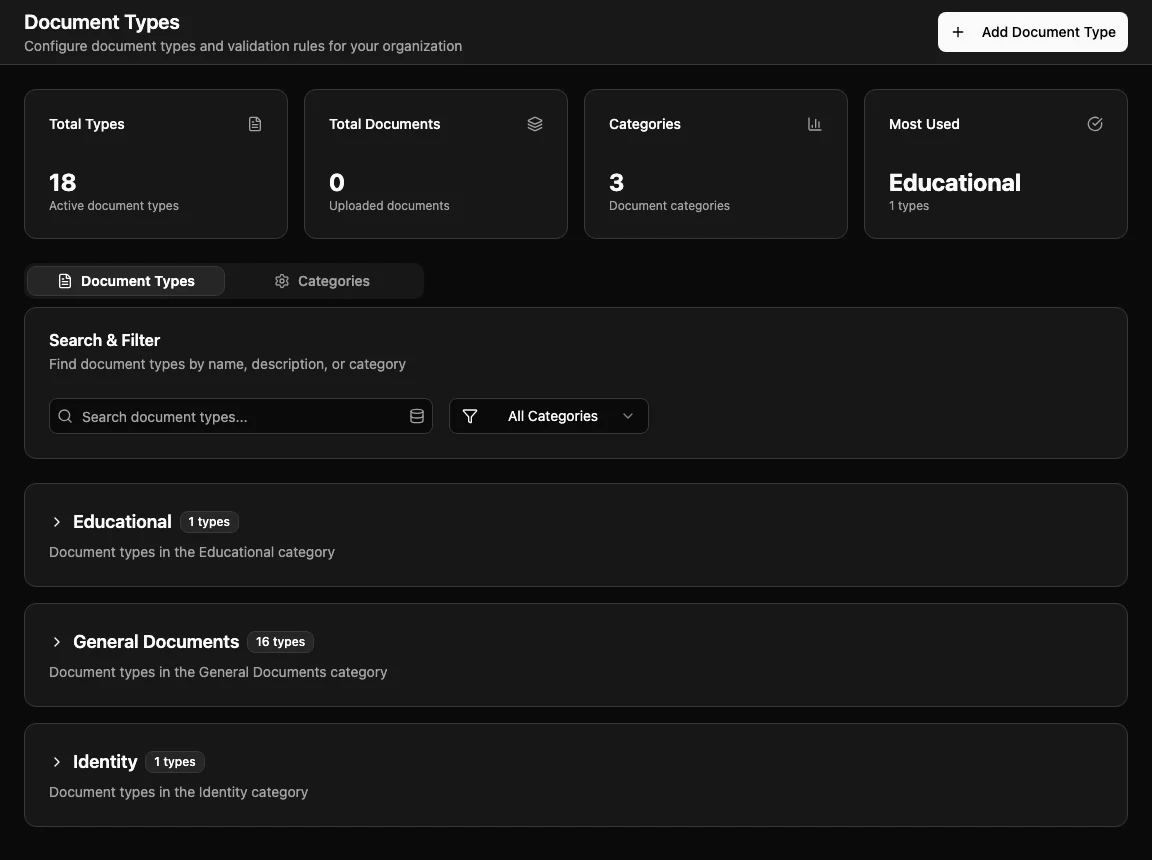
The top of the page shows summary cards for total active document types, total uploaded documents using document types, category count, and the most used category. These cards are a quick health check, not the setup workflow.
How Document Types Affect Uploads
When a user uploads a file and selects a document type, Edmissa uses the document type to:
| Setting | What it controls |
|---|---|
| Name | The label users see when selecting or filtering documents. |
| Slug | The system identifier generated from the name. |
| Category | The group shown in filters, lists, and upload pickers. |
| Accepted file formats | Which extensions are allowed for that document type. |
| File size rules | The maximum file size and optional minimum file size. |
| Upload mode | Whether users upload one file, several files, or front and back files. |
| Document scope | Whether the type appears for student profile documents, application documents, or both. |
| Usage context | Whether the type appears in forms, independent uploads, or both. |
| Expiry tracking | Whether users need to record an expiry date and when reminders should happen. |
| Versioning | Whether Edmissa keeps older versions when the document is replaced. |
| Approval | Whether the document needs review before it is treated as active. |
If a user uploads without selecting a document type, Edmissa can still store the file, but the file will not receive the document-type rules. For important student recruitment files, encourage users to select the correct type.
Create a Document Type
- Open Settings.
- Open Document Types.
- Select Add Document Type.
- Complete Basic Info.
- Complete File Configuration.
- Complete Advanced Features.
- Select Create Document Type.
- Upload a test file from a student profile or application to confirm the type appears in the right place.
The create dialog has three tabs: Basic Info, File Configuration, and Advanced Features.
Basic Info
Use Basic Info to define what the document type is and where it can be used.
| Setting | Use it for | Notes |
|---|---|---|
| Name | The user-facing document type label. | Use names staff already say, such as Passport or Bank Statement. |
| Slug | The unique identifier generated from the name. | The slug uses lowercase letters, numbers, and hyphens. Choose the name carefully before saving. |
| Description | Help text for users uploading this document. | Explain what counts as the right document. |
| Category | The group this type appears under. | Choose a clear group such as Identity, Education, Financial, Travel, Immigration, or Other. |
| Document scope | Where this document type can be used. | Choose student profile, application, or both. |
| Usage context | How this document type can be uploaded. | Choose forms, independent uploads, or both. |
For Edmissa, the most common setup is:
| Document type | Recommended scope | Recommended usage context |
|---|---|---|
| Passport | Both | Both |
| Academic Transcript | Both | Both |
| Bank Statement | Application | Both |
| Offer Letter | Application | Independent upload |
| Visa Copy | Application | Independent upload |
| Profile Photo | Student profile | Forms |
Use student profile scope for files that belong to the student no matter which application they create. Use application scope for files that belong to one application or destination.
File Configuration
Use File Configuration to control what a user is allowed to upload.
| Setting | Use it for | Limits |
|---|---|---|
| Accepted File Formats | Select the allowed file extensions. | At least one format is required. |
| Maximum File Size | Set the largest accepted file. | 0.1 MB to 100 MB. |
| Minimum File Size | Reject files that are suspiciously small. | Optional. |
| Upload Mode | Choose Single File, Multiple Files, or Front and Back. | Multiple Files supports up to 10 files. |
| Maximum Files | Set the file count for Multiple Files. | Appears only for Multiple Files. |
Available format groups include:
| Format group | Examples |
|---|---|
| Documents | PDF, Word, text, rich text, OpenDocument text. |
| Images | JPG, PNG, GIF, BMP, WebP, SVG, HEIC, HEIF. |
| Spreadsheets | Excel, CSV, OpenDocument spreadsheet. |
| Archives | ZIP, RAR, 7z, TAR, GZIP. |
Prefer narrow rules for important files. For example, Passport can accept PDF, JPG, JPEG, and PNG. Bank Statement can accept PDF only if your agency wants a clean review process.
Upload Modes
Upload mode changes how users submit files for the document type.
| Upload mode | Use it when | Example |
|---|---|---|
| Single File | One upload is enough. | Passport copy, offer letter, English test result. |
| Multiple Files | Users may need to attach several files of the same type. | Several bank statements or several academic certificates. |
| Front and Back | The document has two sides and both are needed. | National ID card or residence card. |
For Front and Back, train users to upload the front side first and the back side second. This keeps review easier when the document opens as a grouped upload.
Advanced Features
Use Advanced Features when a document type needs expiry tracking, versioning, student access, or approval.
| Setting | Use it for | Notes |
|---|---|---|
| Track Expiry Dates | Ask users to record an expiry date for this type. | Set the number of days before expiry when reminders should start. |
| Enable Versioning | Keep older versions when a document is replaced. | You can limit how many versions are kept. |
| Student access | Allow the student to download this document. | Use this only for files the student should be able to access. |
| Require Approval | Require review before the document becomes active. | Useful for visa, financial, and identity documents. |
Student access controls whether the student can access the uploaded file from the student-facing experience.
Expiry Tracking
Turn on expiry tracking for documents that stop being valid.
Good candidates include:
| Document type | Why expiry matters |
|---|---|
| Passport | Applications and visas often require a valid passport for a minimum period. |
| Police Certificate | Some destination rules accept only recent certificates. |
| Medical Certificate | Medical or visa results can expire before submission. |
| Bank Statement | Financial evidence may need to be recent. |
| Travel Insurance | Insurance validity must match the travel or study period. |
Set the alert days based on the real operating risk. For passports, an agency may want a longer warning window. For bank statements, a shorter reminder may be enough.
Versioning
Versioning helps the team keep history when a student uploads a replacement file. Use versioning for documents that may be corrected or renewed, such as:
- Passport copy.
- Bank statement.
- Academic transcript.
- Offer letter.
- Visa decision letter.
If a document type is temporary or low value, you can turn off versioning. If you leave versioning on, set a maximum version count that gives the team enough history without keeping unnecessary files forever.
Approval
Use Require Approval when someone must verify the document before the team relies on it. This is especially useful for:
- Identity documents.
- Financial documents.
- Visa documents.
- Offer letters.
- Final submission files.
Approval is different from a checklist. Approval answers, "Is this uploaded file acceptable?" A checklist answers, "Has the team completed the review work around this stage or process?"
Categories
Categories organize document types in the settings list, upload pickers, and filters. Use categories to help users find the right type quickly.
Common Edmissa categories include:
| Category | Example document types |
|---|---|
| Identity | Passport, National ID, Birth Certificate, Visa Copy. |
| Education | Academic Transcript, Degree Certificate, Marksheet, English Test Result. |
| Financial | Bank Statement, Sponsorship Letter, Loan Approval Letter, Scholarship Letter. |
| Legal | Police Certificate, Affidavit, Name Change Document. |
| Medical | Medical Certificate, Vaccination Record, Health Insurance. |
| Travel | Flight Ticket, Travel Insurance, Travel History. |
| Immigration | Visa Application Form, Biometric Appointment Letter, Visa Decision Letter. |
| Other | Photograph, Signature, Miscellaneous Supporting Document. |
The Categories tab is mainly a reference view. It shows available category groups and usage counts. Create and edit the category assigned to a document type from the document type form.
Delete or Duplicate a Document Type
From the document type list, open the action menu for a type.
| Action | What it does | Important note |
|---|---|---|
| Edit | Opens the document type form with the current settings. | Existing uploads keep their document history. |
| Duplicate | Creates a copy of the type and its field mappings. | Rename the copy so users do not confuse it with the original. |
| Delete | Deactivates the type. | Delete is disabled when uploaded documents already use the type. |
Deleting a document type is a soft delete. It hides the type from normal use without removing the historical documents that already exist.
Example: Student Visa Processing
For a Student Visa Processing pipeline, start with a small, clear set of document types:
| Document type | Category | Scope | Usage context | Useful settings |
|---|---|---|---|---|
| Passport | Identity | Both | Both | PDF and images, expiry tracking, versioning, approval. |
| Academic Transcript | Education | Both | Both | PDF, multiple files if students may upload several transcripts. |
| English Test Result | Education | Application | Both | PDF and images, expiry tracking if the score expires. |
| Bank Statement | Financial | Application | Both | PDF only, expiry or recency reminder, approval. |
| Offer Letter | Education | Application | Independent upload | PDF, versioning, approval. |
| Visa Copy | Immigration | Application | Independent upload | PDF and images, versioning. |
After creating these types, connect them to the rest of the setup:
- Add file-upload fields in Fields if users need to upload documents while completing a form.
- Add those fields to Form templates.
- Add document-related review items to Checklists.
- Reference the required files in Pipeline stages where application movement depends on document readiness.
- Ask a counselor or application officer to upload a test file from the relevant student profile or application.
Test a Document Type
After creating or editing a document type, test it before the team relies on it.
- Open a test student profile or test application.
- Upload a file using the new document type.
- Confirm the type appears in the upload picker.
- Try an accepted file format.
- Try a blocked file format if the rule is important.
- Confirm the size limit behaves as expected.
- Confirm expiry fields appear when expiry tracking is enabled.
- Confirm version history appears when versioning is enabled.
- Confirm approval behavior appears when approval is required.
- Confirm the document is visible in the right student or application document list.
Good Naming Patterns
Use names that match real agency language.
| Prefer | Avoid |
|---|---|
| Passport | Passport Upload File |
| Academic Transcript | Academic Document |
| Bank Statement | Financial Proof |
| Offer Letter | University Doc |
| Visa Copy | Visa File |
Keep names short, specific, and stable. The document type name appears in filters, upload flows, document lists, and search results.
Related Guides
| Guide | Use it for |
|---|---|
| Documents | Upload, review, and track files in daily work. |
| Fields | Configure file-upload fields that use document types. |
| Form templates | Decide where file-upload fields appear on forms. |
| Checklists | Create document review work for stages and teams. |
| Pipeline stages | Connect required documents to stage movement and readiness. |
| Document issues | Troubleshoot missing files, wrong types, upload problems, and status confusion. |