

SLA and Business Hours
Configure response and completion targets for student agency work, then review overdue work from the SLA & Business Hours settings page.
SLA & Business Hours helps admins set clear timing expectations for student agency work. Use it when your team needs to define how quickly users should respond to Leads, follow up on document collection, prepare visa submissions, or complete application stage work.
These settings work best when they match the way your agency actually works. Business hours define when time should count. SLA configurations define the targets the team should meet. The breach report helps admins review work that has gone past the expected time.
Use this guide to create a first version that is simple, clear, and easy to test before you roll it out to the full team.
What This Guide Helps You Configure
| Area | What it helps with |
|---|---|
| Response timing | Set expectations for how quickly users should respond to new Leads or student messages. |
| Follow-up timing | Set targets for document collection, missing information, or counselor follow-up work. |
| Completion timing | Set expectations for work that should be completed before an application moves forward. |
| Working time | Use business hours so timing reflects the agency schedule rather than every hour of the day. |
| Review | Use the breach report to see which work went overdue and where the team may need support. |
SLA settings do not replace good process design. Use them after the basic student journey, application stages, document types, checklists, and team roles are clear.
Before You Start
Prepare these details before creating SLA configurations:
| Item | Why it matters |
|---|---|
| Main workflow | Decide which student or application workflow needs timing rules first. |
| Business schedule | Confirm the days and hours your team normally works. |
| Owner roles | Decide which users or roles are responsible for meeting the target. |
| Target examples | Write a few real examples, such as first Lead response or visa submission preparation. |
| Review owner | Choose who will review overdue work and coach the team. |
| Test records | Use a sample Lead, student profile, or application to confirm the setup behaves as expected. |
Start with a small number of rules. A short set of targets that managers review often is more useful than a long list that no one checks.
Open SLA & Business Hours
- Open Settings.
- Open SLA & Business Hours.
- Confirm the page title is SLA & Business Hours.
The direct route is /t/settings/sla.
The page has three tabs:
| Tab | Use it for |
|---|---|
| SLA Configurations | Create and manage timing rules for response or completion expectations. |
| Business Hours | Define the working schedule used when measuring SLA timing. |
| Breach Report | Review work that has missed the expected timing target. |
Configure Business Hours First
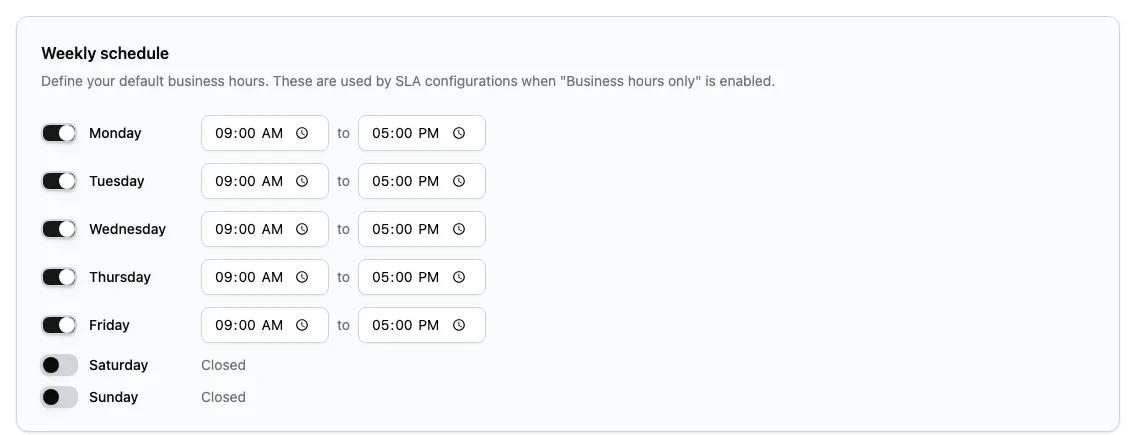
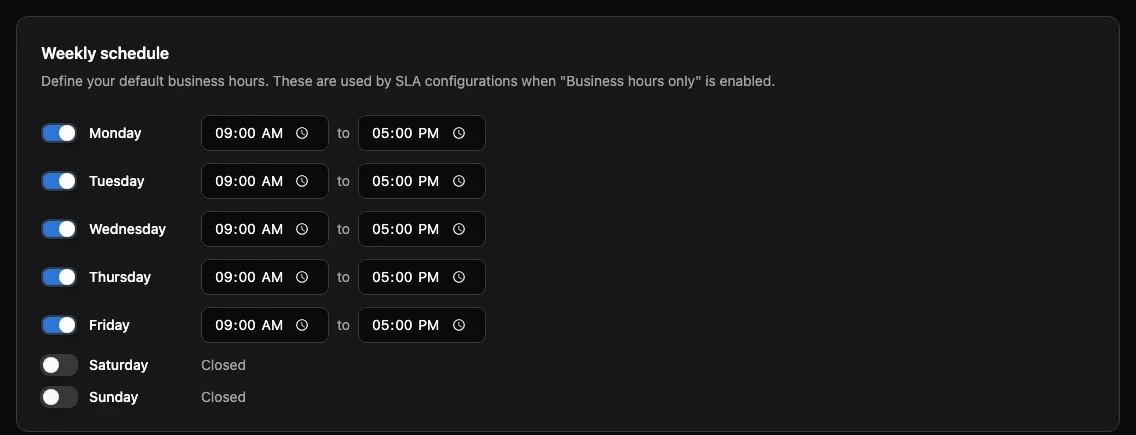
Open the Business Hours tab before creating SLA configurations. Business hours help Edmissa measure timing against the agency schedule.
For example, if the team works Monday to Friday, an item created late on Friday should usually continue counting during the next working period rather than across the full weekend. Configure the schedule that matches your agency's actual operating hours.
When the team works across branches or markets, keep the first version simple. Use the schedule that covers the team responsible for the target, then review whether separate schedules are needed after managers have seen real results.
Create an SLA Configuration
Open the SLA Configurations tab, then select New SLA configuration.
Use the setup flow to define one timing expectation at a time. Give each rule a plain name that tells admins what it measures, such as Initial Lead Response or Visa Submission Preparation. Complete the required details shown in your workspace, save the configuration, and test it with sample work before relying on it for reporting.
Avoid creating rules for every possible situation on day one. Start with the moments where delay creates the most risk for students or the agency.
Recommended First Version for Student Visa Processing
For a first rollout, configure a small set of targets around the Student Visa Processing workflow.
| Example target | Why it matters |
|---|---|
| Initial Lead response | New Leads should hear from the team quickly while their interest is fresh. |
| Document collection follow-up | Missing files can delay offer, payment, or visa preparation. |
| Visa submission deadline | Submission work often has fixed dates and needs close monitoring. |
| Overdue application stage | A stage that stays open too long may need manager review or extra support. |
These are examples, not required rule names. Use names and timing that match your agency's process, destination rules, and student communication standards.
Example Timing Ideas
Use these examples as starting points when discussing your first SLA setup:
| Situation | Example expectation |
|---|---|
| Initial Lead response | Respond to a new Lead during the next working period. |
| Document collection follow-up | Follow up when required files are still missing after the agreed review window. |
| Visa submission deadline | Complete preparation before the submission date agreed by the team. |
| Overdue application stage | Review an application when it remains in the same stage longer than expected. |
Do not copy these targets without checking your process. The right timing depends on destination requirements, intake deadlines, team size, and how your agency communicates with students.
Review the Breach Report
Use the Breach Report tab to review missed timing targets. Treat the report as a coaching and process-improvement tool, not only as a performance list.
When you review overdue work, ask:
- Was the timing target realistic?
- Did the right user or role own the work?
- Did business hours match the team schedule?
- Did the application stage need clearer checklist or document requirements?
- Was the student waiting on outside information, such as a school decision or financial document?
If many items breach the same target, review the configuration and the process before adding stricter rules.
Safe Rollout Guidance
- Configure business hours first.
- Create one or two SLA configurations for the most important visa processing moments.
- Test the rules with sample Leads, student profiles, and applications.
- Ask managers to review the breach report for one working week.
- Adjust the timing, owner expectations, or process notes based on what the report shows.
- Add more rules only after the first rules are trusted.
Tell users what each target means before it appears in reporting. Users should know which work is measured, when the clock starts, and who reviews overdue items.
Testing and Review Checklist
Use this checklist before treating SLA reporting as final:
| Check | Success sign |
|---|---|
| Business hours are correct. | The schedule matches the team responsible for the work. |
| Rule names are clear. | A manager can understand the target without opening extra notes. |
| Timing is realistic. | The target reflects real student agency work and destination deadlines. |
| Sample work has been tested. | A sample Lead, student profile, or application confirms the rule behaves as expected. |
| Breach report is reviewed. | Managers know where to find overdue work and how often to review it. |
| Users have been told. | Counselors and application officers understand the timing expectations. |
Related Guides
| Guide | Use it for |
|---|---|
| Setup overview | Plan the order for configuring an Edmissa workspace. |
| Pipeline stages | Confirm the application stages where timing expectations may apply. |
| Checklists | Define repeatable work that supports stage completion and document review. |
| Document types | Configure the files students and applications need for visa processing. |
| Notifications | Configure messages that help users respond at the right time. |
| Users | Review who should own student and application work. |