

Tasks and follow-ups
Create, assign, complete, and monitor work assigned to team members.
Tasks turn follow-up work into clear ownership. Use them for calls, document chasing, application review, internal handoffs, and any small piece of work that needs an assignee, a due date, and a visible status.
Open Tasks
Open Tasks from the main navigation.
The Tasks page shows your follow-up work in tabs. In the inspected workspace, the tabs were My Tasks, All Tasks, and Completed. Your role controls which tabs and scope options you can use. If the My Items scope picker is shown, use it to stay focused on the work assigned to you. Managers may see broader options depending on their permissions.
When there is at least one task, the top of the page shows summary cards for:
| Card | What it means |
|---|---|
| Total Tasks | All visible tasks in the current view. |
| Pending | Tasks that still need work or are already in progress. |
| Completed | Tasks that have been marked done. |
| Overdue | Open tasks with a due date in the past. |
Use Search tasks... to search task titles and descriptions. Use Filters to narrow the list by status or priority.
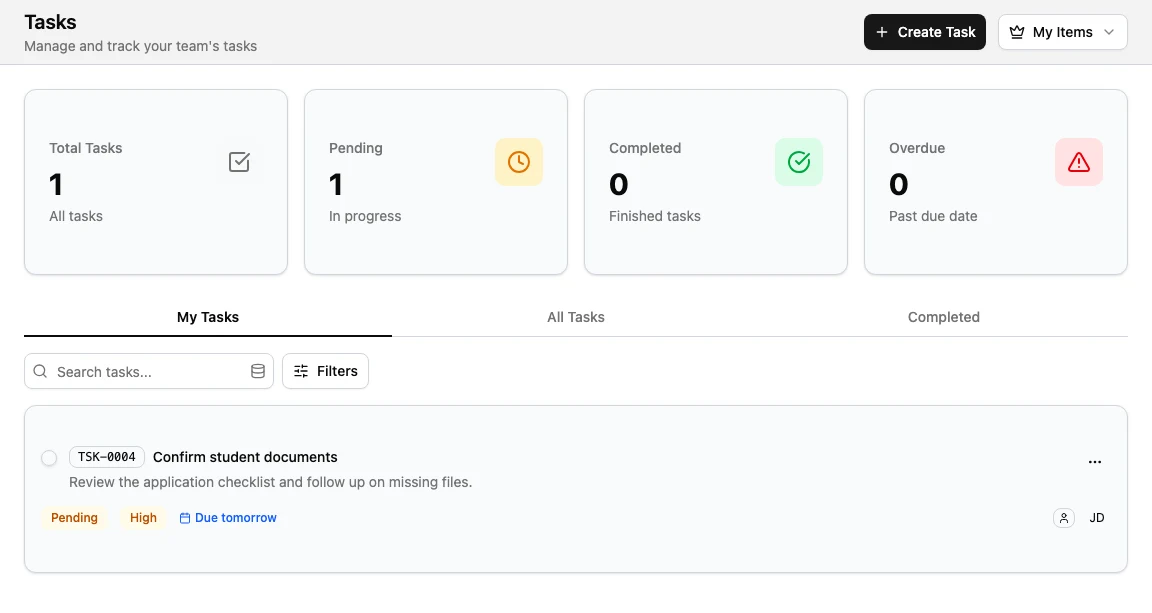
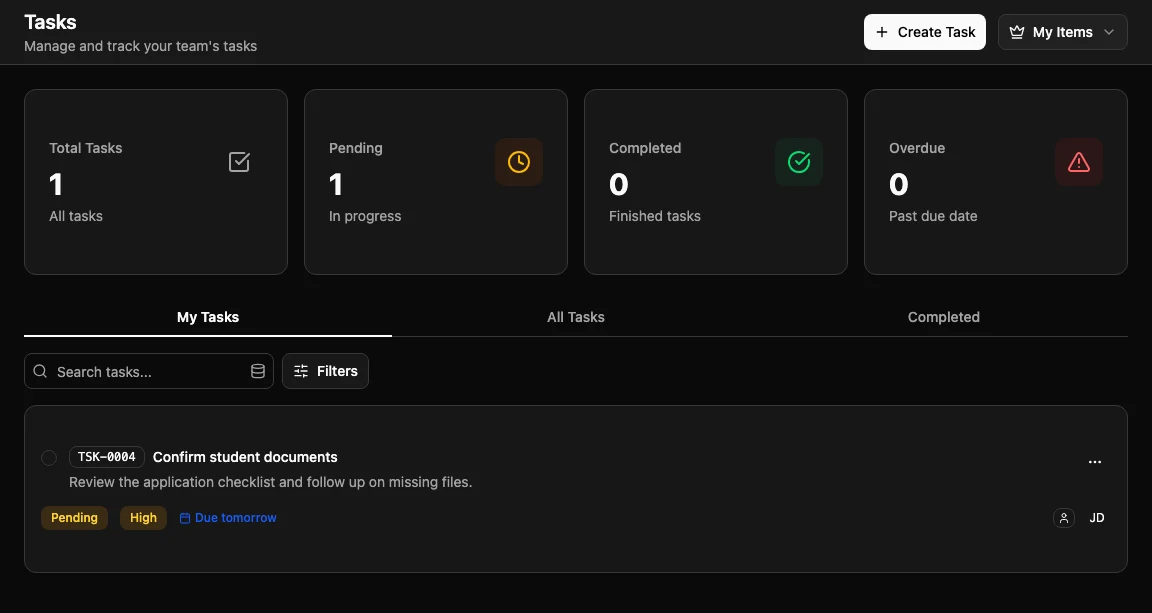
If there are no tasks in the current view, Edmissa shows No tasks found.
Read the task list
Each task card can show:
| Item | How to use it |
|---|---|
| Task number | Use it when discussing a task with another team member. |
| Title and description | Confirm what needs to happen. |
| Status tag | See whether the task is pending, in progress, completed, or cancelled. |
| Priority tag | Sort your attention between low, medium, high, and urgent work. |
| Due date | Watch for due today, due tomorrow, and overdue work. |
| Assignee initials | Confirm who owns the follow-up. |
| Checkbox | Mark the task complete directly from the list when no extra note is needed. |
| More menu | Open edit or delete actions if your role allows them. |
Use My Tasks for your own daily queue. Use All Tasks when it is shown and you need to review visible work across the team. Use Completed to check finished follow-ups without mixing them into the active queue.
Create a task
Click Create Task on the Tasks page.
In the create dialog:
- Enter a clear Title. This is required.
- Add a Description if the next step needs context.
- Set Priority to Low, Medium, High, or Urgent.
- Pick a Due Date. The create dialog lets you choose today or a future date.
- Use Assign To if it is shown. Leave the task unassigned only when the next owner is not known yet.
- Choose a Checklist Template if your workspace uses checklist-driven task work.
- Click Create Task.
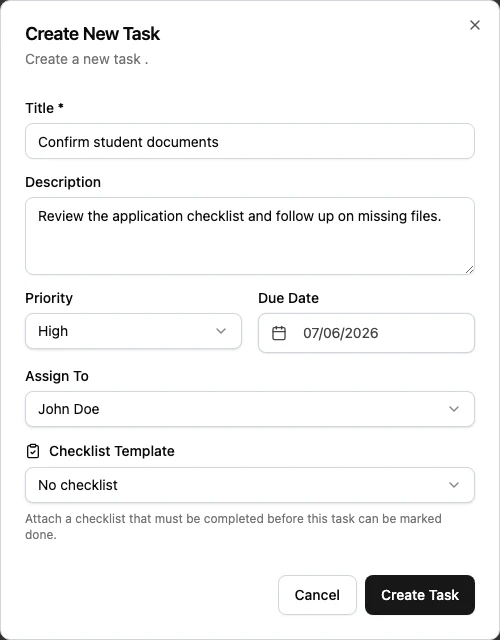
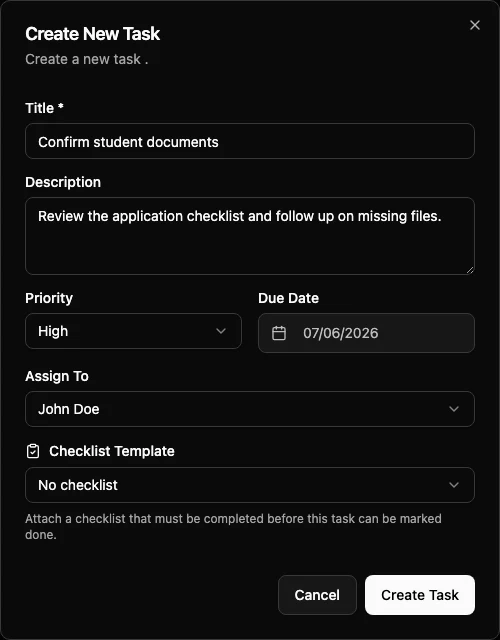
New tasks start as active work. Set the exact status later from the task detail view if needed.
If you land on a separate new-task page that only offers Back, Cancel, or Return to Tasks, return to the Tasks page and use Create Task there. That separate page is not the working task form in this workspace.
Link a task to a student profile or application
From the general Tasks page, the create dialog does not show a picker for a student profile or application. It creates a standalone task.
To connect the follow-up to a student or an application, open the student profile or application first, then create the task from that record's task area. When the task is created from that context, Edmissa keeps the relationship with the task so users can return to the related work later.
Use this pattern when the task is part of a real case, for example:
| Follow-up | Best place to create it |
|---|---|
| Call a Lead after a new form submission | The Lead or student profile. |
| Chase missing documents | The student profile or the related application. |
| Review an application before submission | The application. |
| Ask another team member to check a detail | The record where that detail lives. |
Edit task details
Open a task by clicking its card. If you open a direct task link, Edmissa opens the task details over the Tasks page.
Use Edit when you need to change ownership, timing, or status. The edit view includes the main fields you need for daily task management:
| Field | Use it for |
|---|---|
| Title | Keep the task name short and action-focused. |
| Description | Add the context, student need, or next step. |
| Status | Move the task between Pending, In Progress, Completed, or Cancelled. |
| Priority | Raise or lower urgency as the work changes. |
| Due Date | Reschedule the follow-up when the date changes. |
| Assigned To | Reassign the task to the right team member. |
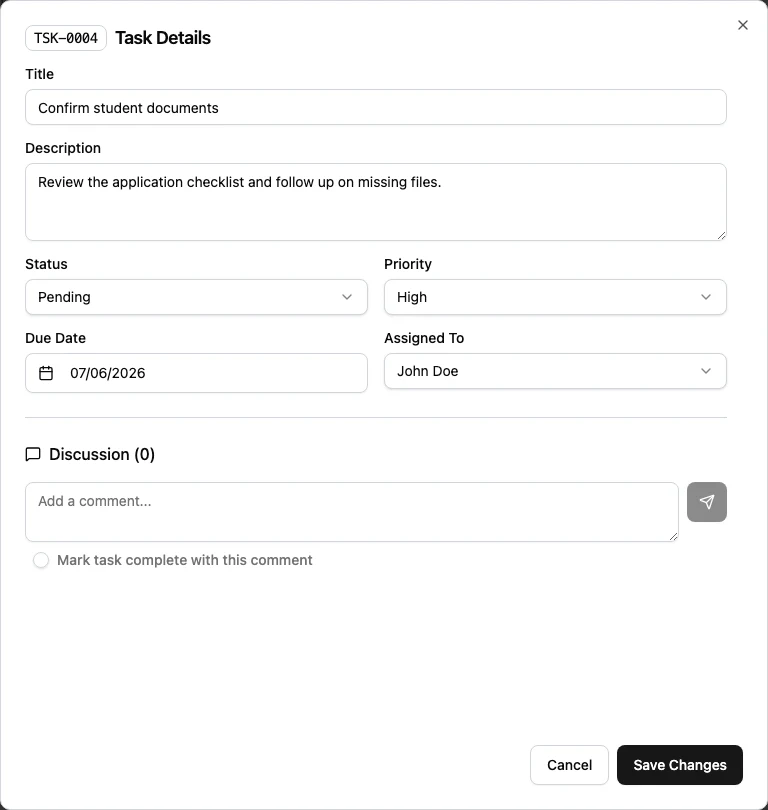
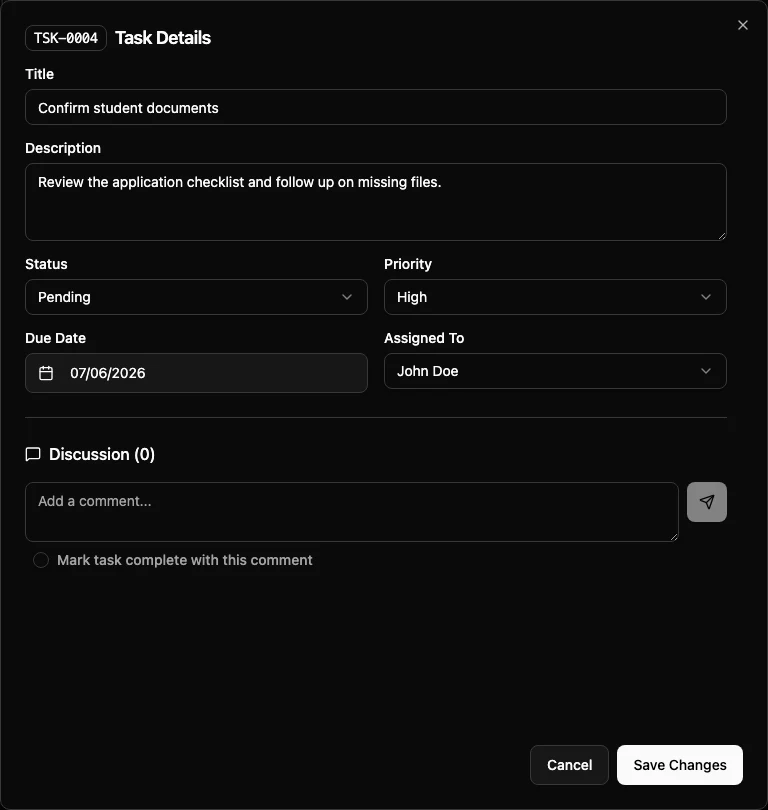
Click Save Changes after editing. Click Cancel if you only needed to review the task.
Complete tasks
For quick work, use the checkbox on the task card. This is best when the task is simple and no comment is needed.
For work that needs context, open the task first. You can:
- Review the title, description, due date, assignee, and priority.
- Add a note in Discussion.
- Select Mark task complete with this comment when you want the comment and completion to happen together.
- Send the comment.
If a task has a checklist, complete the checklist items before marking the task done. If your workspace allows checklist overrides, Edmissa asks for a reason before the task can be completed without finishing every checklist item.
Manage overdue follow-ups
Review overdue work at least once a day. The Overdue card counts visible open tasks whose due date has passed. Task cards also call attention to overdue due dates when they appear in the list.
Use this routine:
- Open Tasks.
- Start with My Tasks.
- Check the Overdue count.
- Open each overdue task and decide the next action.
- Add a comment if the student, counselor, or application status changed.
- Reassign the task if someone else now owns the follow-up.
- Update the due date only when there is a real new follow-up date.
- Mark the task complete when the work is done.
- Cancel the task if the follow-up is no longer needed.
For managers, use All Tasks when shown to check team-wide overdue work. Look for repeated overdue patterns, such as the same stage, role, or type of application creating delays. If the task was created by automation, review the related rule so future work is assigned to the right person with a realistic due date.
Good follow-up habits
Use task titles that start with the action: Call student, Review documents,
Confirm intake, or Send reminder.
Keep descriptions short but useful. Include the reason for the follow-up, the student or application context, and the expected next step.
Assign every task that has a clear owner. Unassigned tasks are easy to miss.
Use priority sparingly. If everything is urgent, nothing is urgent.
Close the loop in comments. A short note such as Student sent transcript, ready for review helps the next person understand why the task was completed.
Troubleshooting
I cannot see All Tasks
Your role may only allow you to see your own assigned work. Ask an admin to review your task permissions and scope.
I cannot assign a task
Assignment depends on task permissions. Ask an admin to confirm that your role can assign tasks and that the other user is active.
I need the task tied to a student or application
Create the task from the student profile or application, not from the general Tasks page.
Users are missing task reminders
Check notification settings and templates. If automation creates the task, also check the automation rule that sets the assignee and due date.
Related setup
| Guide | Use it for |
|---|---|
| Users | Confirm team members are active and can receive assigned work. |
| Permissions and scope | Control who can view, create, assign, edit, and manage tasks. |
| Notifications | Decide how users are alerted about task activity and reminders. |
| Notification templates | Update message wording for task notifications. |
| Automation | Create follow-up tasks from workflow rules. |
| Checklists | Add repeatable checklist steps to task work. |