

Documents
Upload, review, and track files connected to students and applications.
Documents are files your team collects while working with Leads, student profiles, applications, forms, and review steps. Use the Documents area to see what has already been uploaded, find files that need review, and check whether important files are missing or expired.
Open Documents
- Open Documents from the main navigation.
- The page opens on Overview.
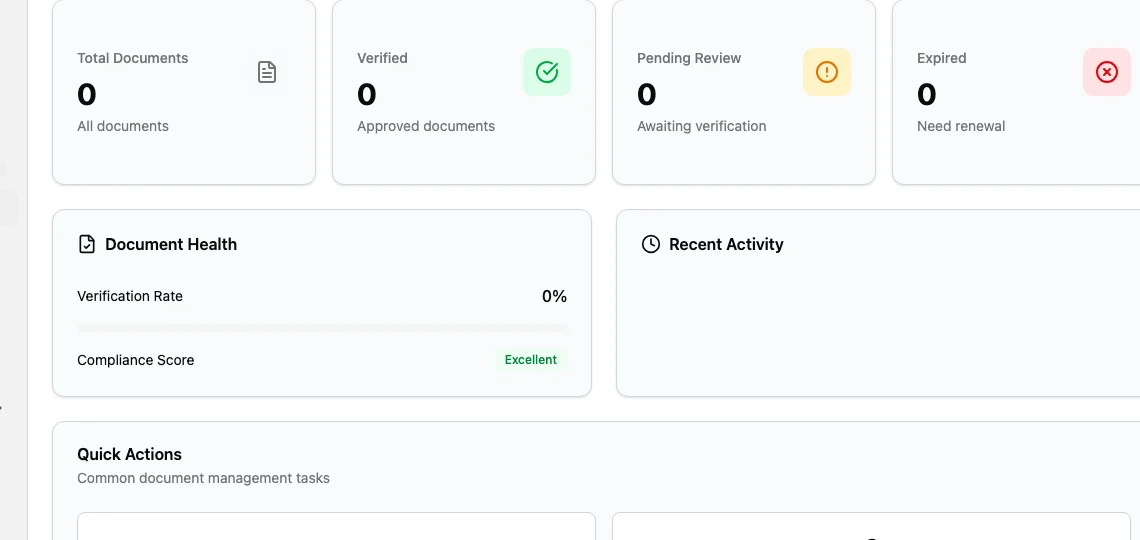
- Use Overview for a quick health check.
- Use Documents for the searchable list.
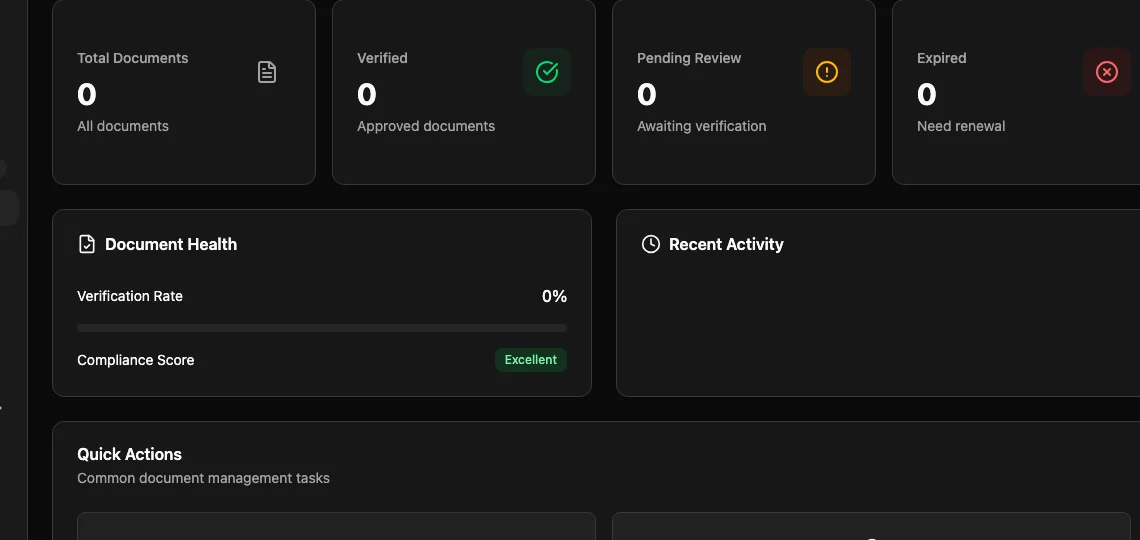
The overview shows total files, verified files, files waiting for review, and expired files. It also shows Document Health, Recent Activity, and quick actions for pending or expired files. In the inspected demo workspace, all document counts were zero.
Review the Document List
Select Documents at the top of the page to open the list view.
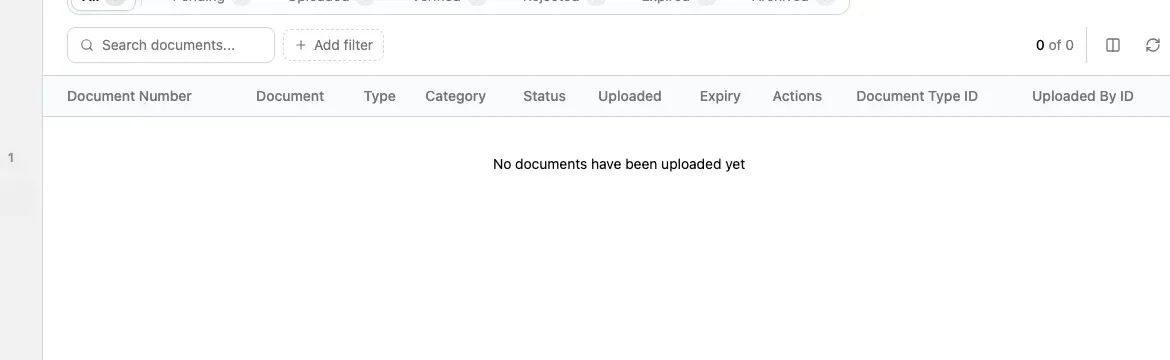
Use the list controls to narrow the files you need:
| Control | Use it for |
|---|---|
| Status tabs | Switch between All, Pending, Uploaded, Verified, Rejected, Expired, and Archived. |
| Search documents | Search by document name, number, or filename. |
| Add filter | Filter by details such as category or document type when options are available. |
| Columns | Review document number, document name, type, category, status, upload date, expiry, and actions. |
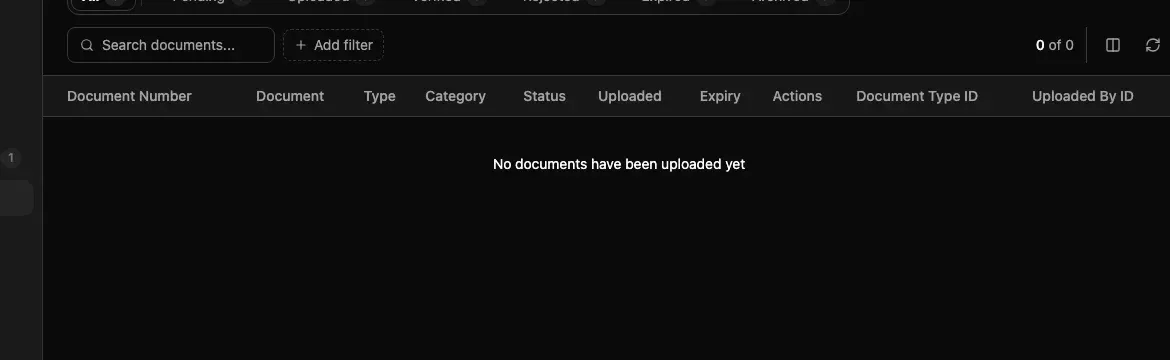
If no files are available, the table shows No documents have been uploaded yet. That means there is nothing to open from the central list for the current filters and permissions.
When the list contains files, open a file from the row or its actions menu to review details, preview the file, download it, or mark it as verified if your role allows review. A file detail page was not available in the inspected demo workspace because the list had no demo documents.
Upload Documents
The direct upload route, /t/documents/upload, currently shows a coming-soon
screen. Do not use that route as the main upload workflow yet.
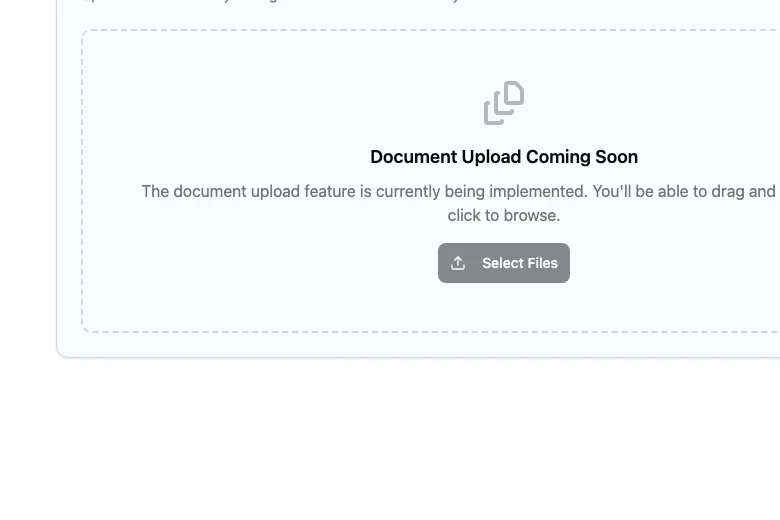
When your workspace shows Upload Documents inside a student profile or application, use that contextual button instead. This helps Edmissa connect the file to the correct student or application from the start.
A typical contextual upload flow is:
- Open the student profile or application.
- Open its Documents section or tab.
- Select Upload Documents.
- Choose the document type.
- Add the file or files.
- Add a description, expiry date, or tags when the upload step asks for them.
- Review the summary.
- Upload the files.
If you do not see Upload Documents, your role may not allow uploads, the workspace may collect that file through a form, or the document type may not be available for that part of the workflow.
Connect Files to the Right Work
Choose the upload location before choosing the file:
| Where you upload | Result |
|---|---|
| Student profile | The file belongs to the student profile and can support multiple applications. |
| Application | The file belongs to that application and should be used for that application's review steps. |
| Form file-upload field | The file is collected from the form and follows the document type selected for that field. |
Use the application upload path for files such as an offer letter, visa submission receipt, application-specific bank statement, or program document. Use the student profile path for files that describe the student across their work with your agency, such as a passport or ID copy.
Review Statuses
Use statuses to decide what needs attention next:
| Status | What to do |
|---|---|
| Pending | Review the file and confirm whether it is acceptable. |
| Uploaded | Confirm the upload is complete and ready for review. |
| Verified | No action is needed unless the file expires or must be replaced. |
| Rejected | Ask for a corrected file or upload the right file. |
| Expired | Request a renewed file and replace the old one. |
| Archived | Keep it for history, but do not treat it as the current file. |
Check Pending and Expired regularly. Those are the statuses most likely to block application progress.
Find Missing Files
The central Documents list shows files that exist. It does not create a complete missing-file report by itself.
To find missing files:
- Open the student profile or application you are reviewing.
- Check the document section, checklist, or application requirements.
- Compare the required document types with the files already uploaded.
- Use Search documents for the student's name, document number, or filename.
- Use status tabs to check whether the file exists but is pending, rejected, expired, or archived.
- If the file is not present, request it from the student or upload it from the correct student profile or application area when available.
If a file should exist but does not appear, check whether it was uploaded to a different application, collected through a form, or stored under the wrong document type.
Avoid the Wrong File Type
Document types control file labels, accepted formats, file size limits, expiry rules, and review behavior. Pick the document type before uploading whenever the upload flow asks for one.
Before uploading, confirm:
| Check | Why it matters |
|---|---|
| Document type | Keeps the file searchable and connected to the right requirement. |
| Accepted formats | Prevents files such as images, PDFs, or office documents from being uploaded under the wrong rule. |
| File size | Avoids failed uploads. |
| Number of files | Some types allow one file, several files, or front and back files. |
| Expiry date | Required for documents that must be renewed. |
| Application or student profile | Keeps the file connected to the right work. |
Do not rename a file extension to make it pass validation. If the upload flow does not accept the correct file, ask an admin to review the document type or storage settings.