

Roles
Create reusable permission sets for the different jobs in an Edmissa workspace.
Roles are reusable permission sets. Assign roles based on the work a user should do in Edmissa, such as counseling students, managing a branch, reviewing documents, coordinating operations, or administering settings.
Use this guide when you need to create a role, edit a role safely, copy a role, or decide which starting role set your agency needs.
Before you start
Prepare these items before creating roles:
| Item | Why it matters |
|---|---|
| Job responsibility list | Roles should match real work, not only seniority. |
| Data access plan | Decide which data areas each job can view, manage, or fully control. |
| Scope plan | Decide whether the role applies to own, assigned, team, or all records. |
| Admin settings list | Decide who can manage users, roles, fields, forms, pipelines, reports, integrations, and security. |
| Test user | Use a safe user to confirm the role before assigning it widely. |
Read Permissions and scope before changing a role used by many people.
Open roles and permissions
Use this path when you want to create or maintain roles:
- Open Settings.
- Select Roles.
The Roles & Permissions page shows total roles, active roles, total permissions, a search box, and a role table.
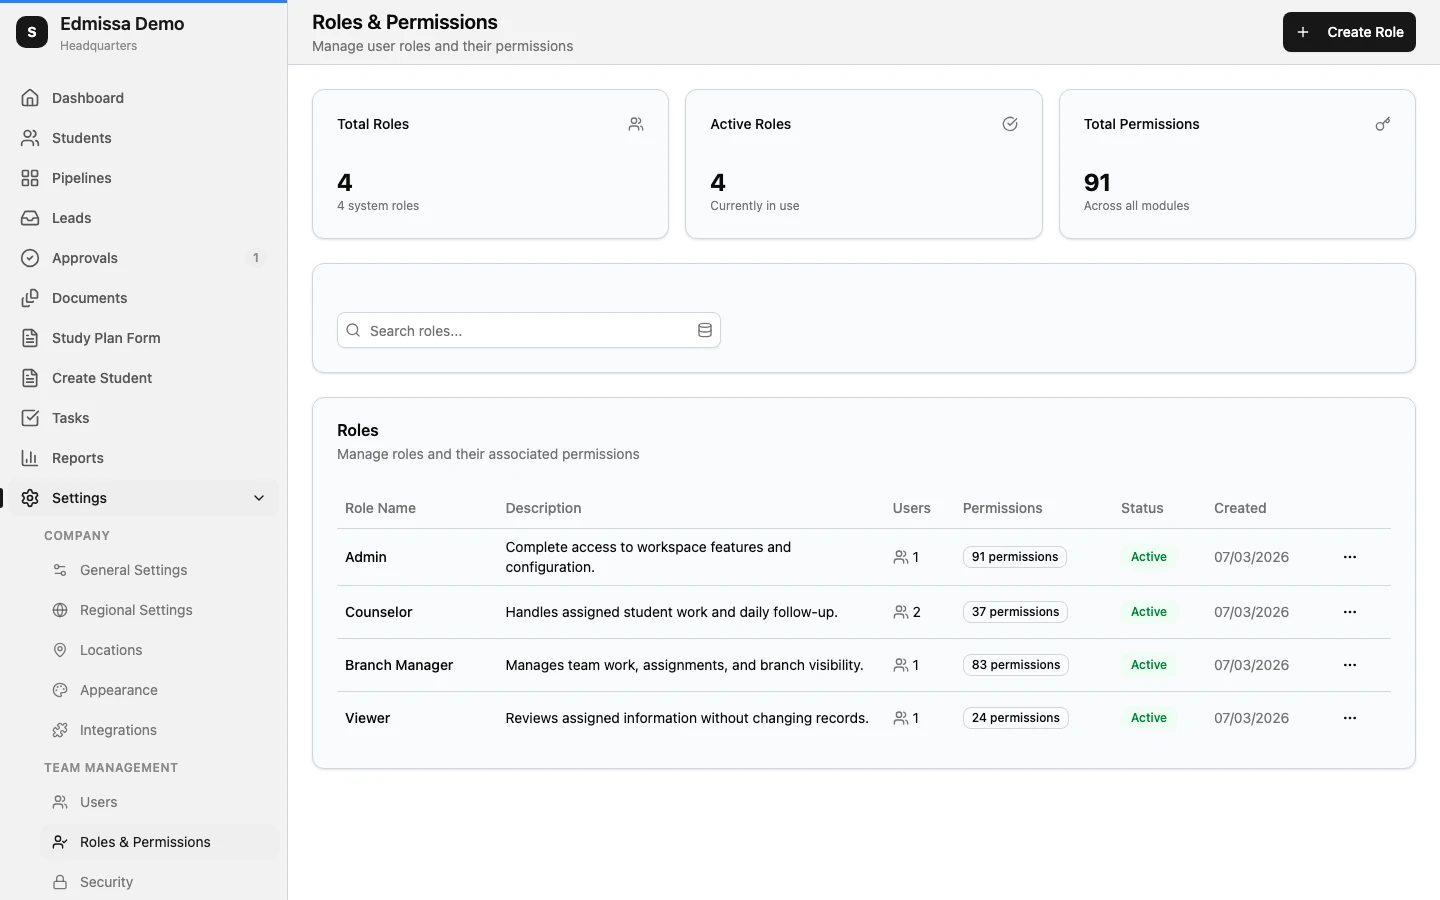
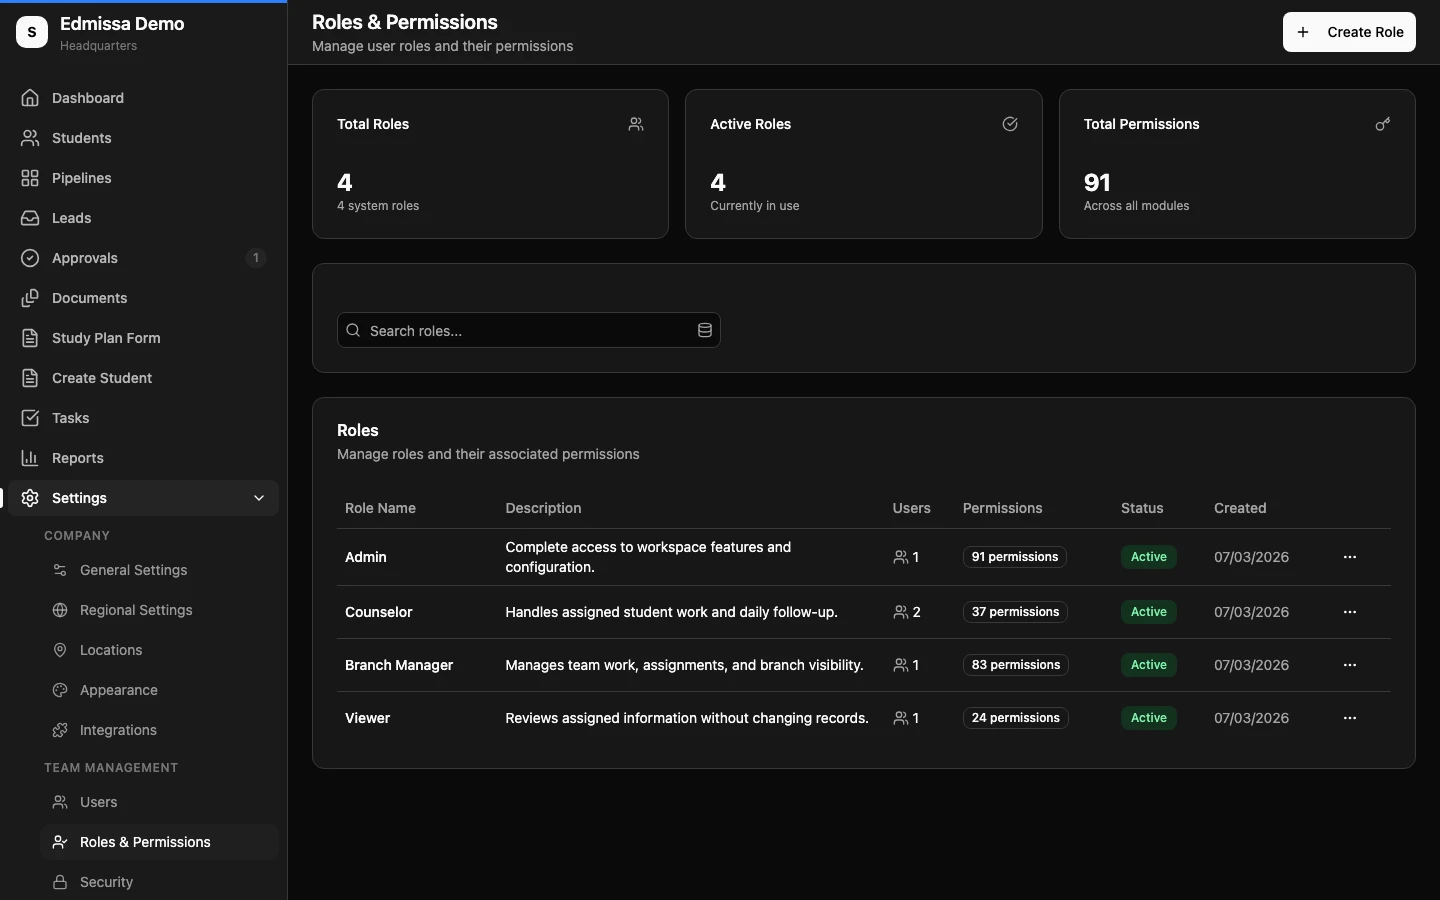
The table can show:
| Column | What it tells you |
|---|---|
| Role Name | The role name and whether it is a protected system role. |
| Description | The purpose of the role. |
| Users | How many users currently have the role. |
| Permissions | How many permissions the role includes. |
| Status | Whether the role is active. |
| Created | When the role was created. |
Use the role row menu to view details, edit the role, copy the role, view users with that role, or delete the role when deletion is allowed.
How roles work
Users can have multiple roles. Their effective access is the combination of all assigned roles. A narrow role does not cancel a broader role.
For example, a counselor role may provide assigned student and application access, while a temporary reporting role may add report visibility. If many users need the same combination, create a clearer role instead of assigning several roles forever.
Start with a role template
When creating a role, you can start from a template or start from scratch.
| Template | Good starting point for |
|---|---|
| Business Executive | Owners and senior leaders who need broad visibility across the organization. |
| Team Manager | Managers who oversee a team and need operational control for their team's work. |
| Case Handler/Specialist | Counselors and consultants who mainly work with assigned students and applications. |
| Operations Coordinator | Support users who coordinate assigned work with limited configuration access. |
Templates are starting points. Review every access level, scope, and setting before assigning the role to real users.
Create a role
Use this flow when a job responsibility needs its own permission set:
- Open Settings.
- Select Roles.
- Select Create Role.
- Choose a template or start from scratch.
- Enter a clear Role Name.
- Add a Description that explains who should receive the role.
- Choose a color if your team uses role colors for scanning.
- Configure Data Access Permissions.
- Configure System Settings & Administration.
- Review the Permission Summary.
- Select Create Role.
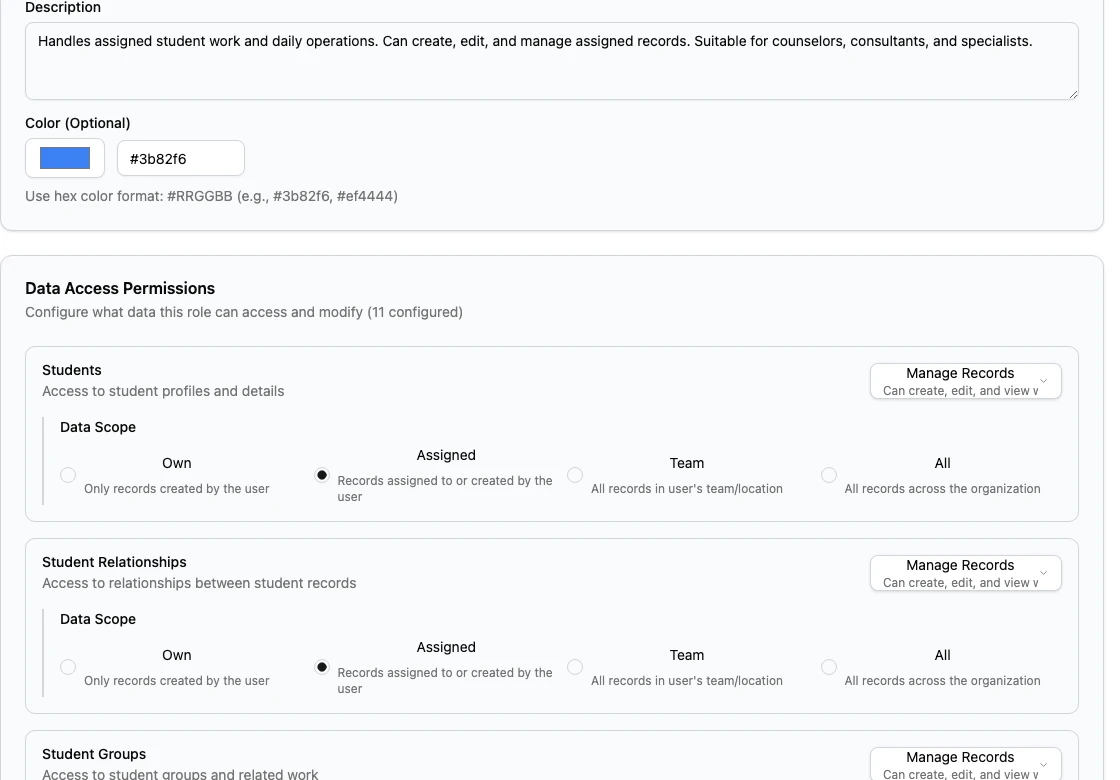
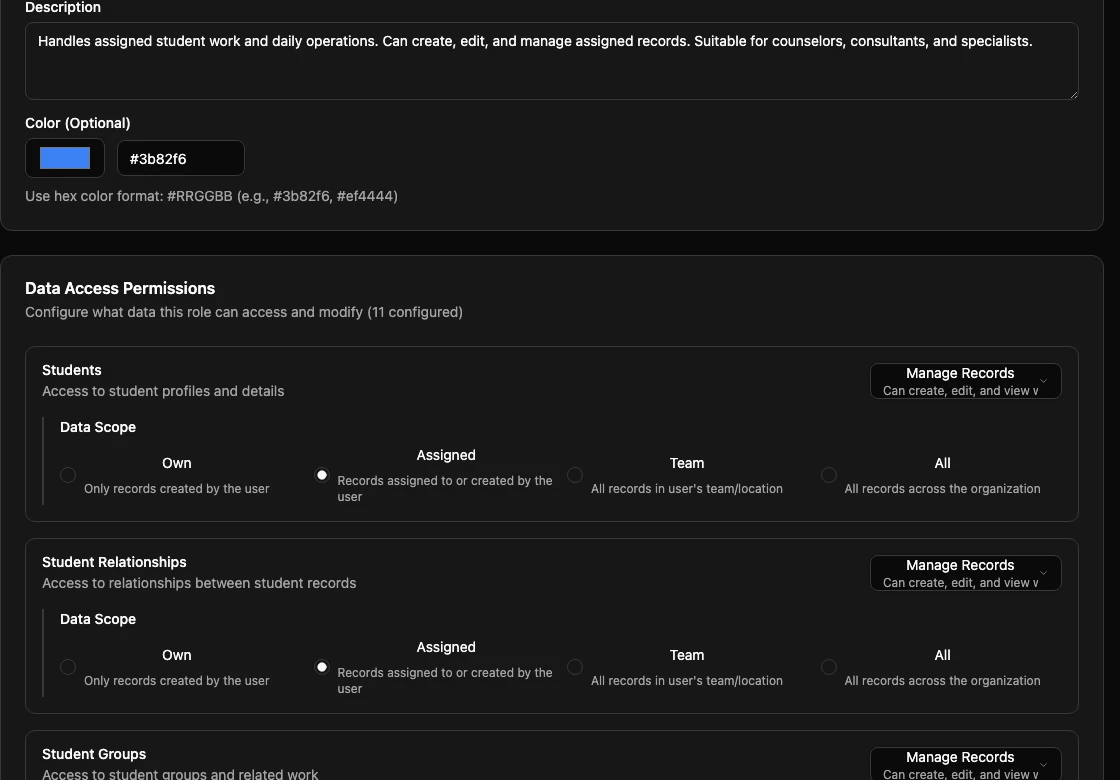
Role names must be unique in the workspace. Use names that describe the job, such as Admissions Manager, Senior Counselor, Application Coordinator, or Document Reviewer.
Edit a role safely
Use this flow when changing permissions:
- Open Settings.
- Select Roles.
- Open the role.
- Review the current Data Access Permissions and System Settings.
- Select Edit Role.
- Change the access levels or settings.
- Select Review Changes.
- Check how many users are affected.
- Review added and removed permissions.
- Confirm the changes.
If many users have the role, copy the role and test the copied role with one test user before changing the original role.
The Admin role is protected. Do not plan your setup around renaming, deleting, or reshaping the Admin role. Create a custom role when you need a different admin profile.
Copy or delete roles
Copy a role when another job needs similar access with small differences. This is safer than rebuilding a complex role from memory.
Delete a role only when it has no assigned users. If users still have the role, remove or replace the role on those users first. The Admin role is protected from deletion.
If a role is no longer correct but still appears in historical access reviews, consider leaving it inactive or replacing it through a planned transition instead of deleting it immediately.
Recommended first setup
For a first Edmissa workspace, start with a small role set:
| Role | Suggested starting point |
|---|---|
| Owner or Director | Business Executive or protected Admin access for trusted workspace owners. |
| Branch or Team Manager | Team Manager with Team scope for most daily work areas. |
| Counselor or Consultant | Case Handler/Specialist with Assigned scope for students, applications, documents, tasks, comments, and activity. |
| Operations Coordinator | Operations Coordinator with limited manage access for assigned work. |
| Document Reviewer | Custom role focused on assigned or team document review and related application visibility. |
After the first week of real usage, review whether users ask for access because their role is too narrow, or whether they see work they should not handle. That review is better evidence than guessing during setup.
Related guides
| Guide | Use it for |
|---|---|
| Users | Assign roles to user accounts. |
| Permissions and scope | Understand access levels, scope, system settings, and combined role access. |
| Pipeline stages | Configure stage access, requirements, approvals, and movement rules. |
| Form templates | Configure forms that can be shown only to selected roles. |
| Permissions reference | Look up permission areas and guardrails. |